dl8468
Member
- First Name
- Rich
- Joined
- Feb 22, 2025
- Threads
- 3
- Messages
- 18
- Reaction score
- 21
- Location
- Oakland, CA
- Car(s)
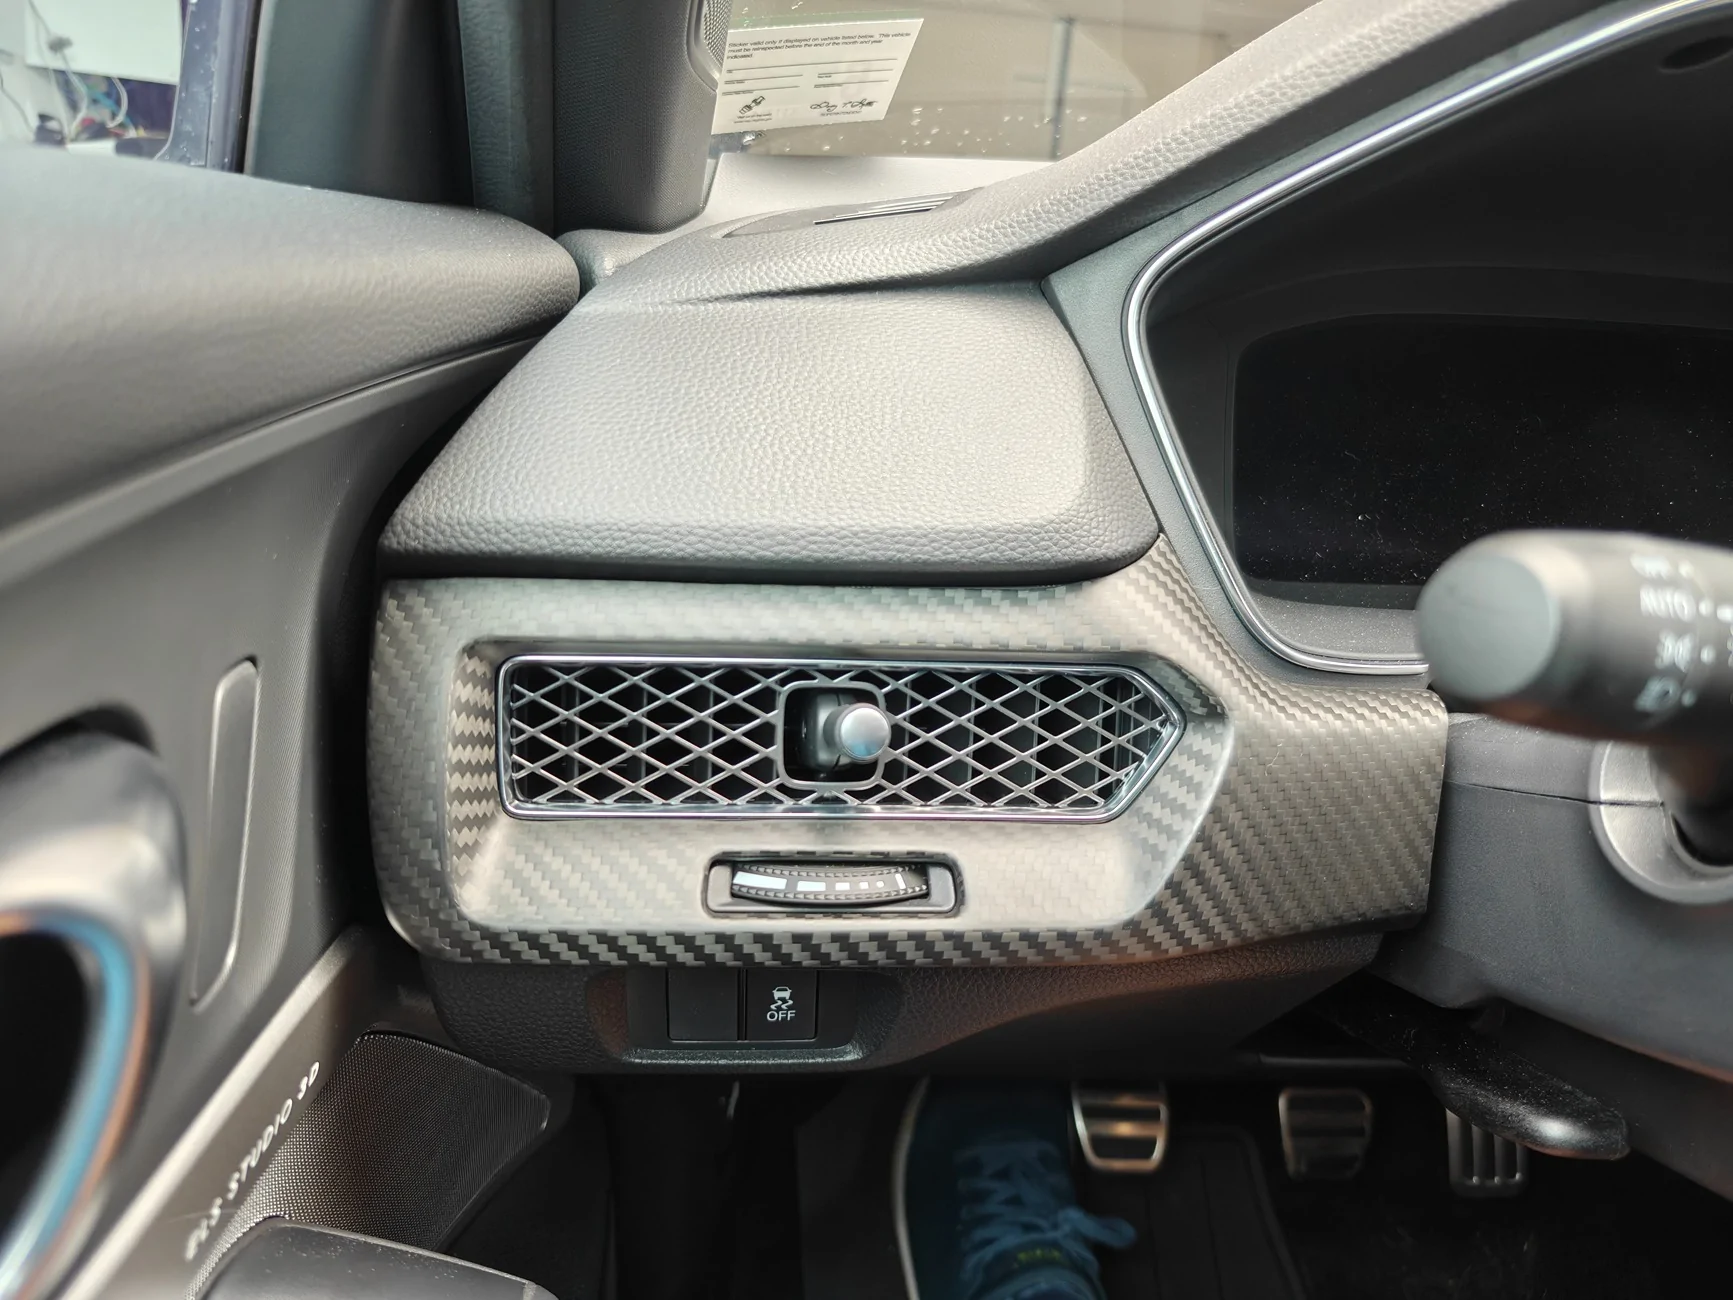
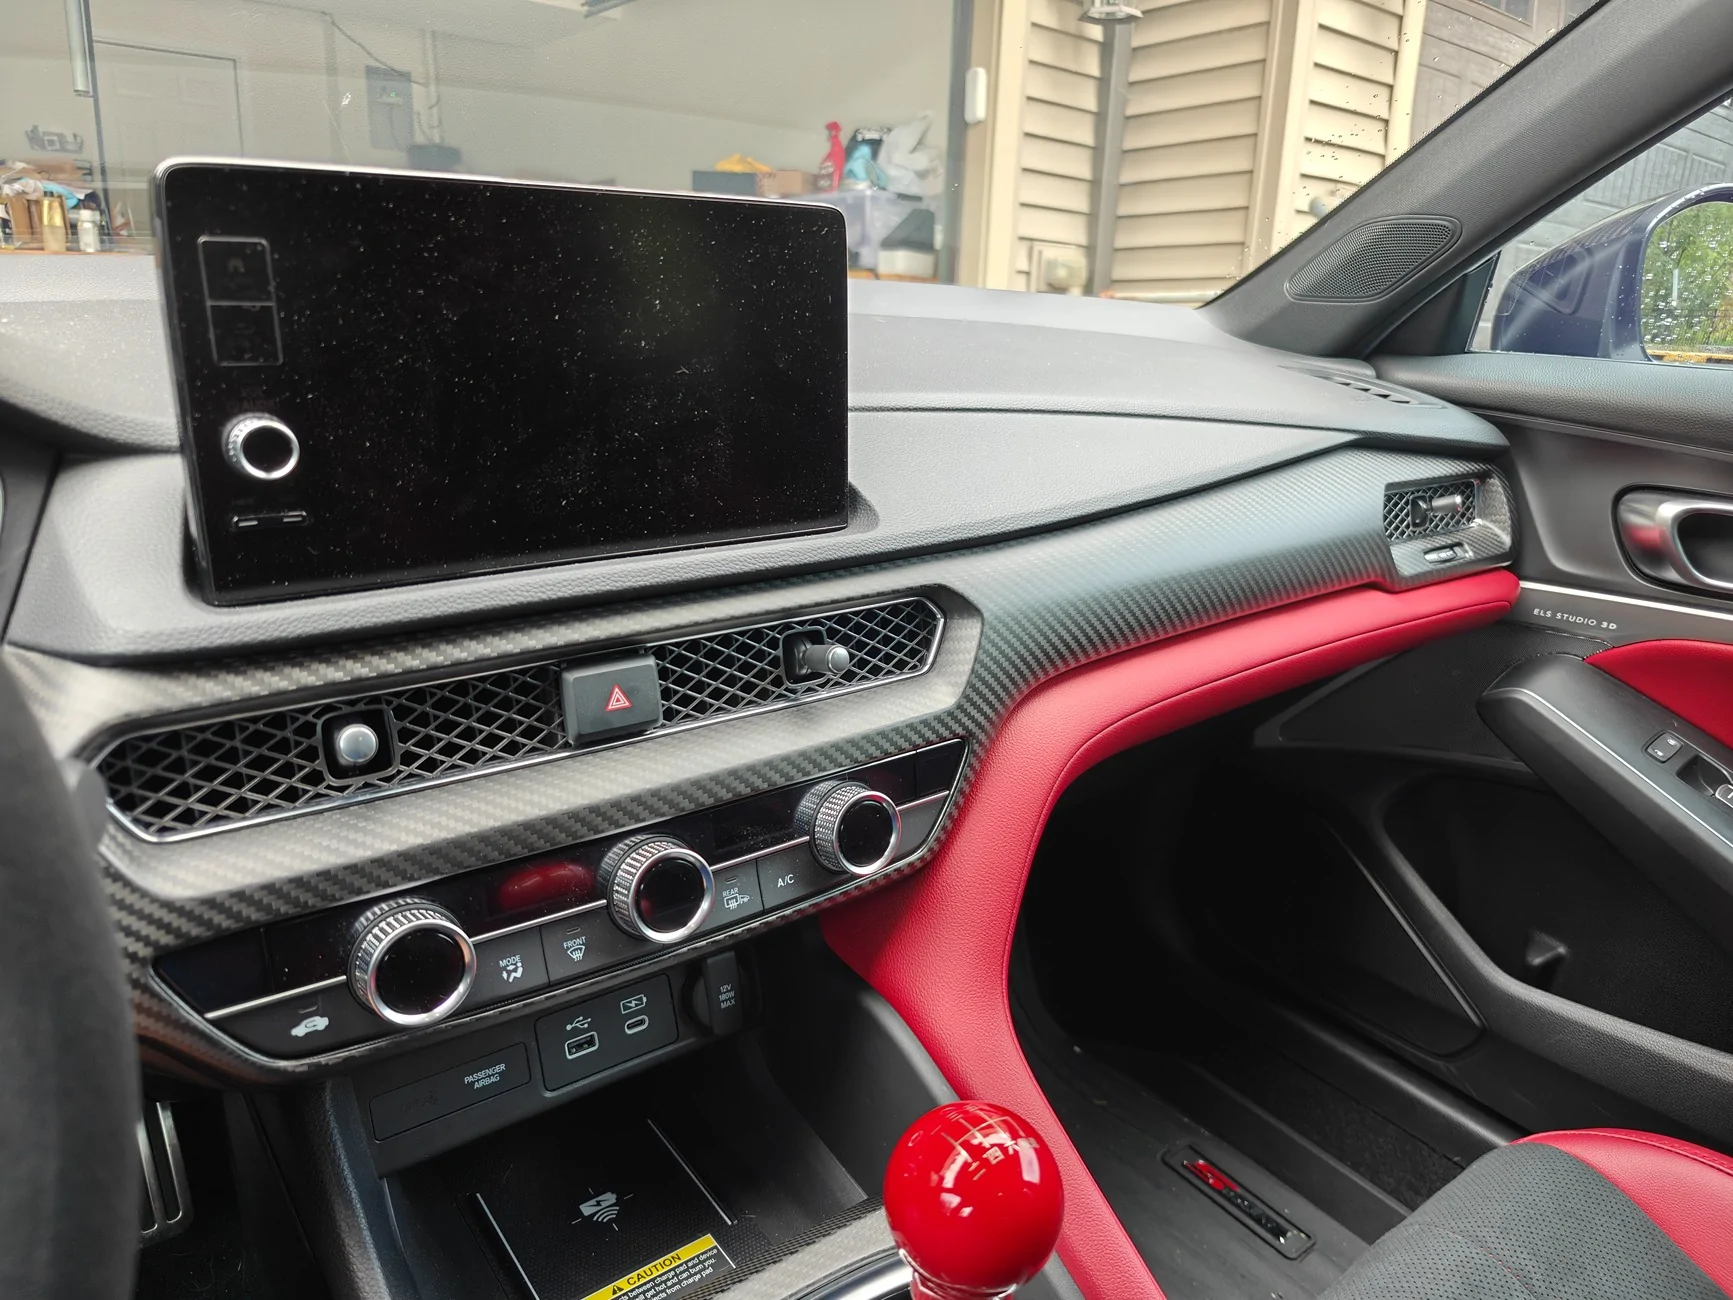
- 2025 Acura Integra Type S
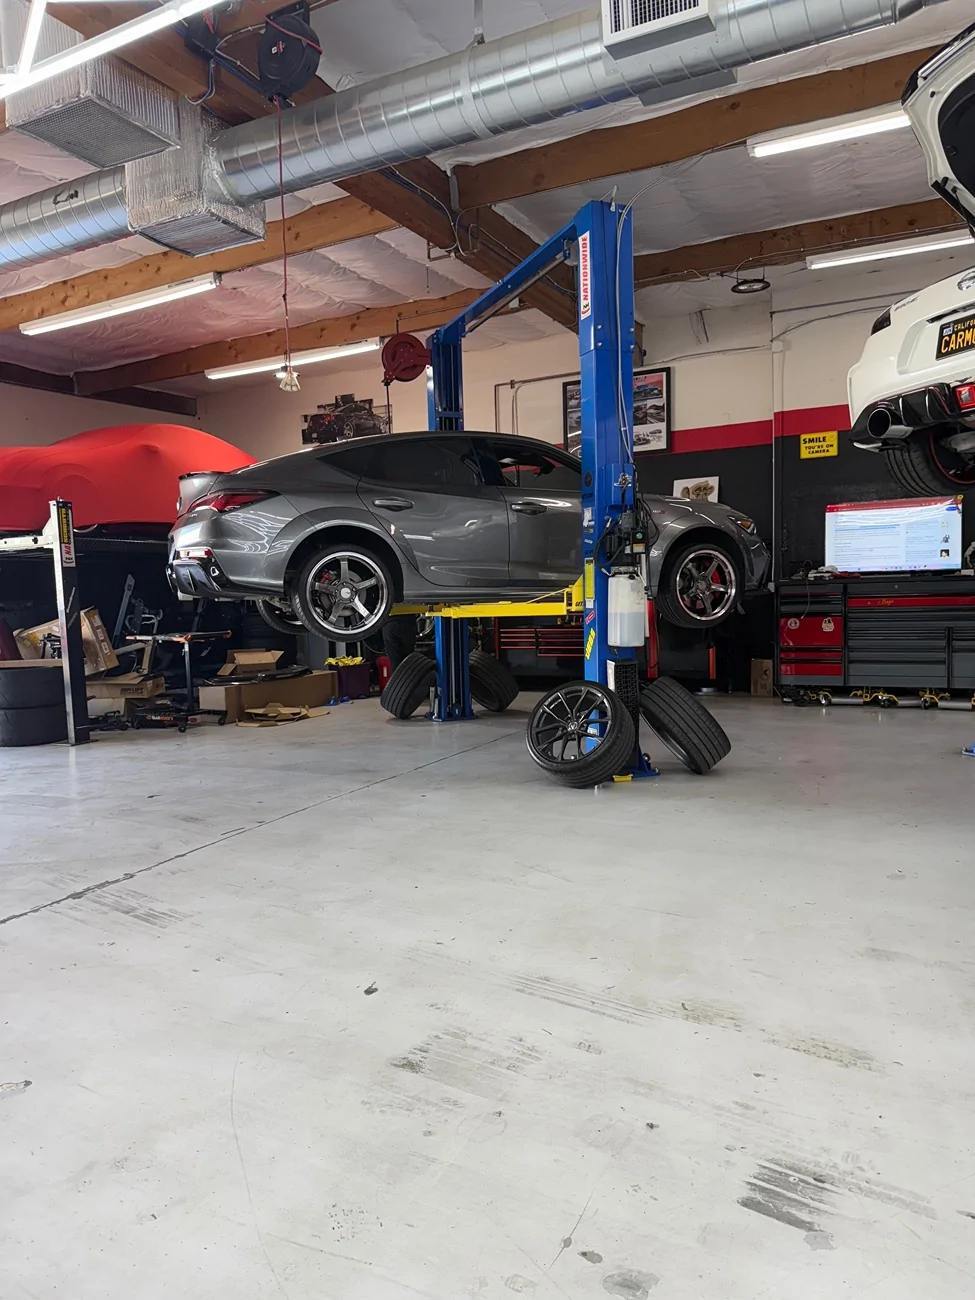
19x9.5 +45 on stock tires


Sponsored