Tw1stedlog1k
Senior Member
- First Name
- Ken
- Joined
- Apr 17, 2023
- Threads
- 3
- Messages
- 573
- Reaction score
- 806
- Location
- Massachusetts
- Car(s)
- Apex Blue Pearl ITS
Looking forward to your feedback on the P2 pads.
Sponsored
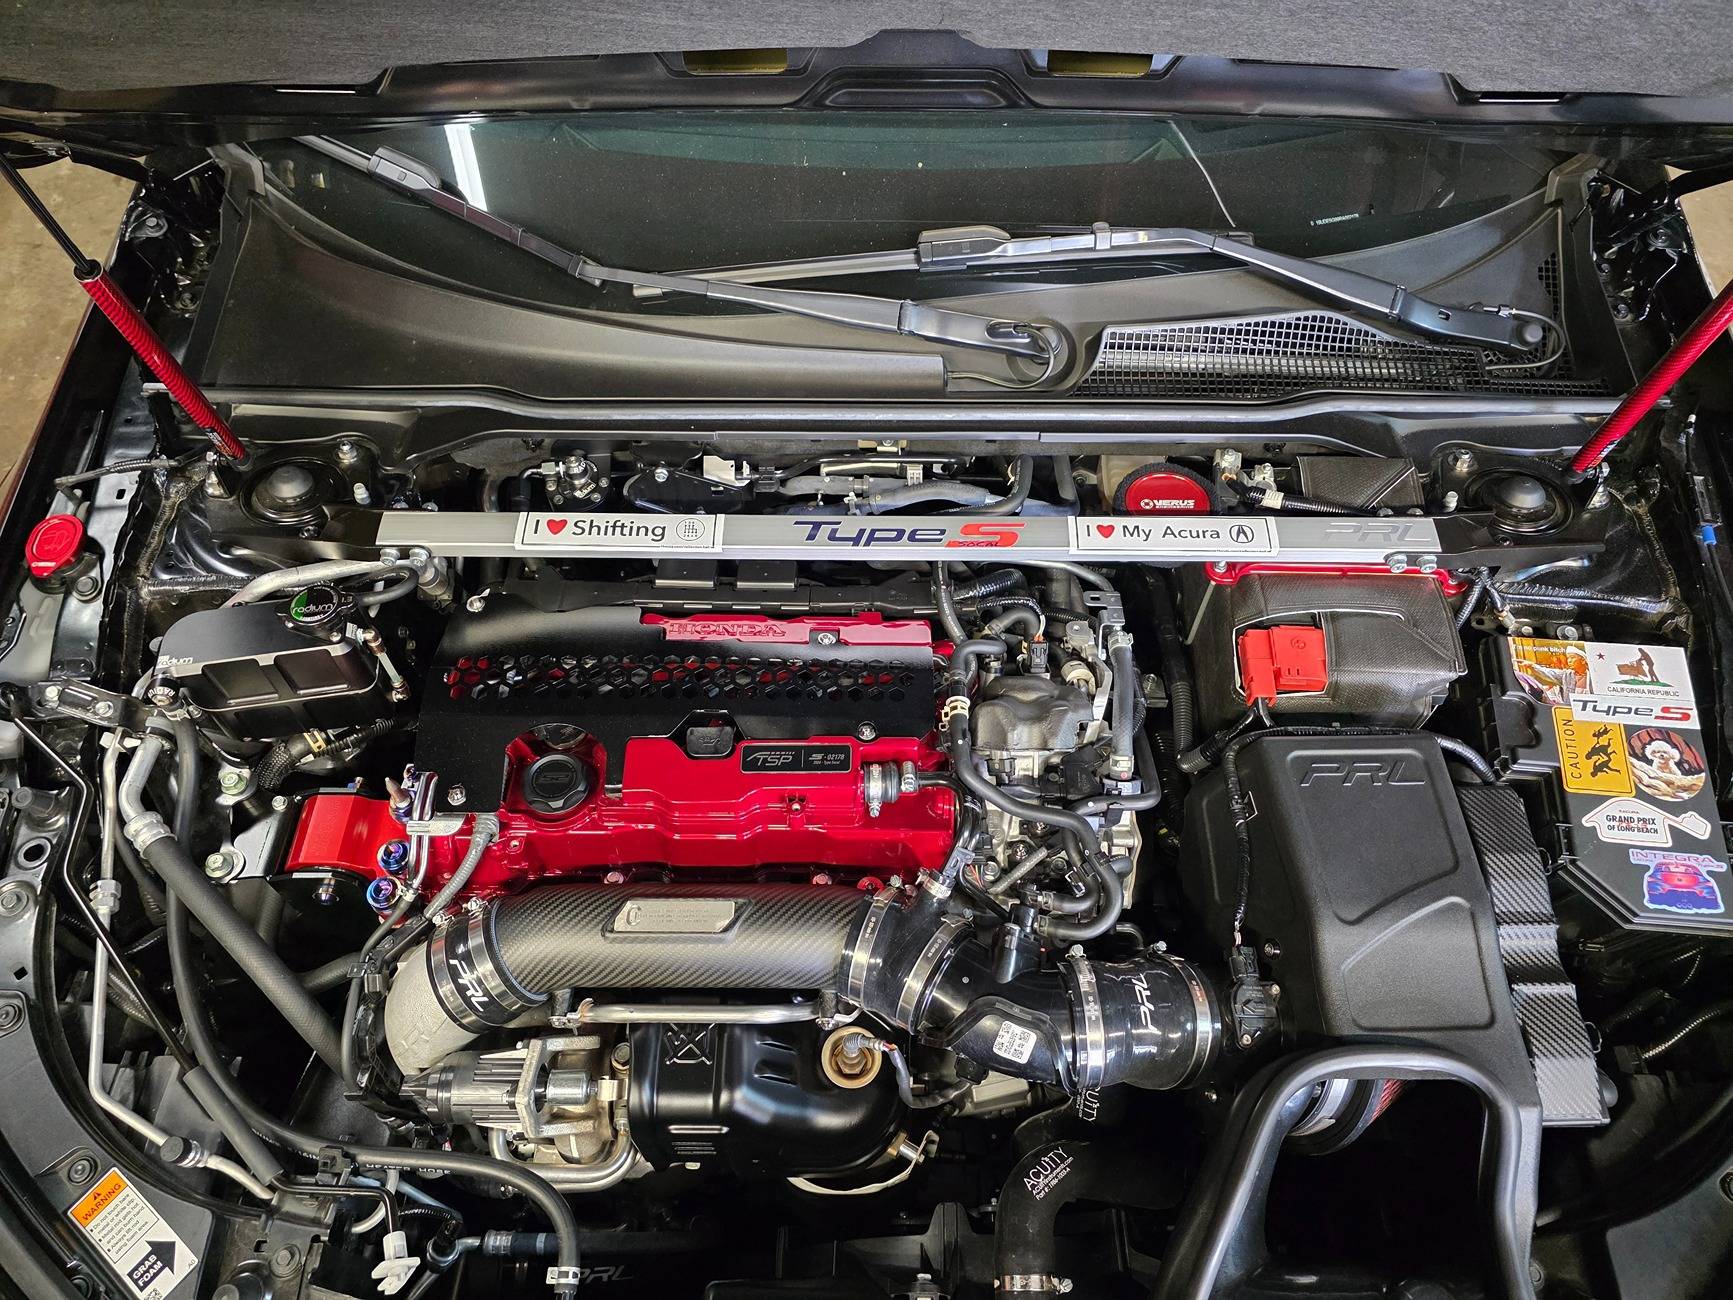
the versus caps really fits wellI painted the top heat shield.
Put a base coat of high temp matte black first, then I applied the MBP.
Waiting to see if it will bubble/peel.
New black skunk2 oil fill cap.
TSP valve cover label.
I wanted to put ig addy under the TSP like they have on their website details but I was told no ?.
I put the ChasinJs Ti valve cover label where the PRL used to be on intake tube.
And red Verus brake fluid & washer fluid lid covers. Also some Ti bolts too.

Yeah... a nice little touchthe versus caps really fits well
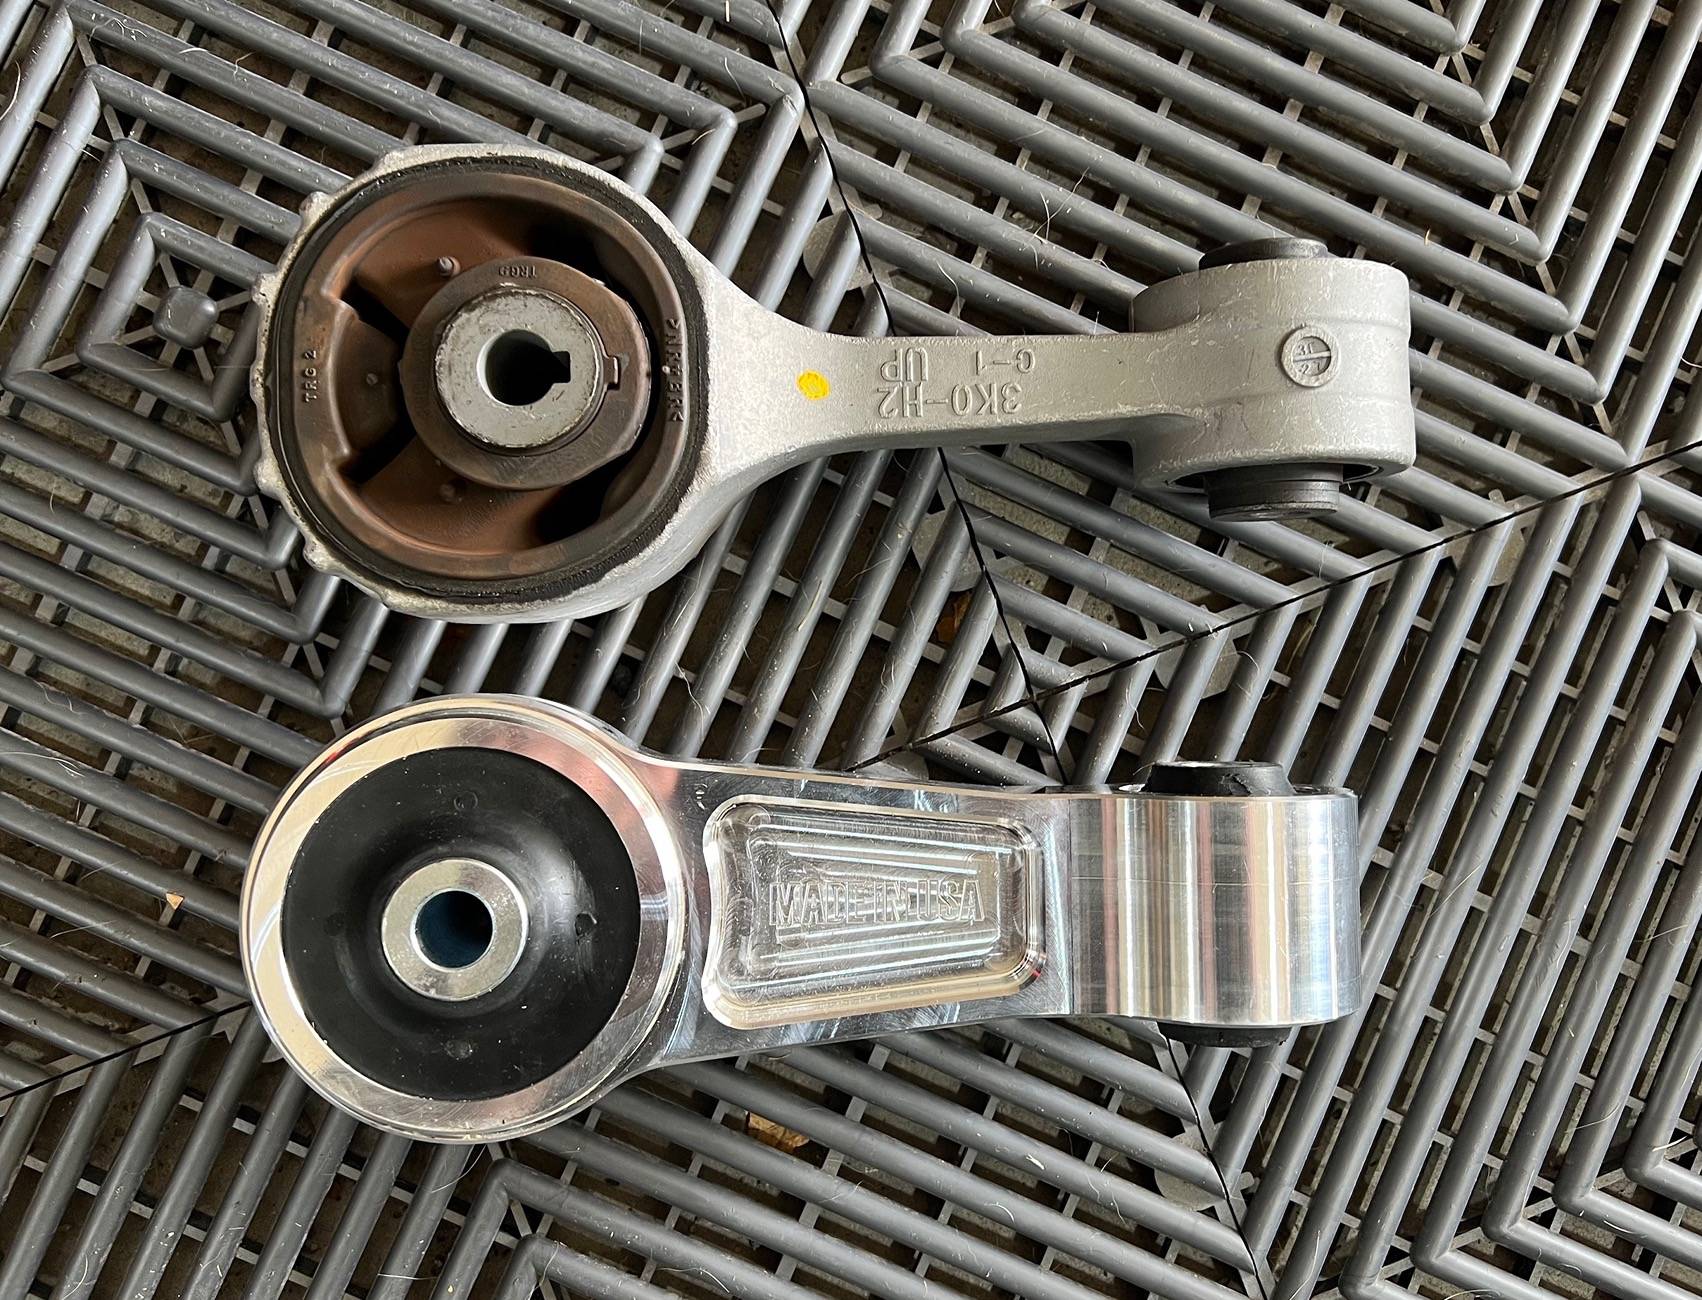
Yes. Just the aluminum engine cover and two bolts need to be removed. If you have the stock front pipe there's plenty of room. With an aftermarket front pipe it is a little more challenging. Also make a note which bolt came from what part of the mount. The bolts are different lengths.For those that have installed the PRL Rear Engine Mount, is there ready access and it is as simple as removing two bolts, pulling the stock one out, and installing the new one? All the videos I can find cover the Type R or other non Type S car. I don't have access to anything to get it off the ground but being retired military I am taking it 60 miles to my nearest base auto hobby shop and putting it on a lift to do it. Want to fully know what to expect before getting there.
Outstanding, thanks for the good info. Look forward to making the change. I expect it to be less challenging than the PRL HVI and Acuity Stage 2 Shift Kit install was.....Yes. Just the aluminum engine cover and two bolts need to be removed. If you have the stock front pipe there's plenty of room. With an aftermarket front pipe it is a little more challenging. Also make a note which bolt came from what part of the mount. The bolts are different lengths.
No problem . The bolt thing got me twice in the past. When your on the ground and reaching for tools and bolts easy to assume they were the same size or mix them up. Then one goes in easy and the other fighting it before realizing the mistake ?Outstanding, thanks for the good info. Look forward to making the change. I expect it to be less challenging than the PRL HVI and Acuity Stage 2 Shift Kit install was.....
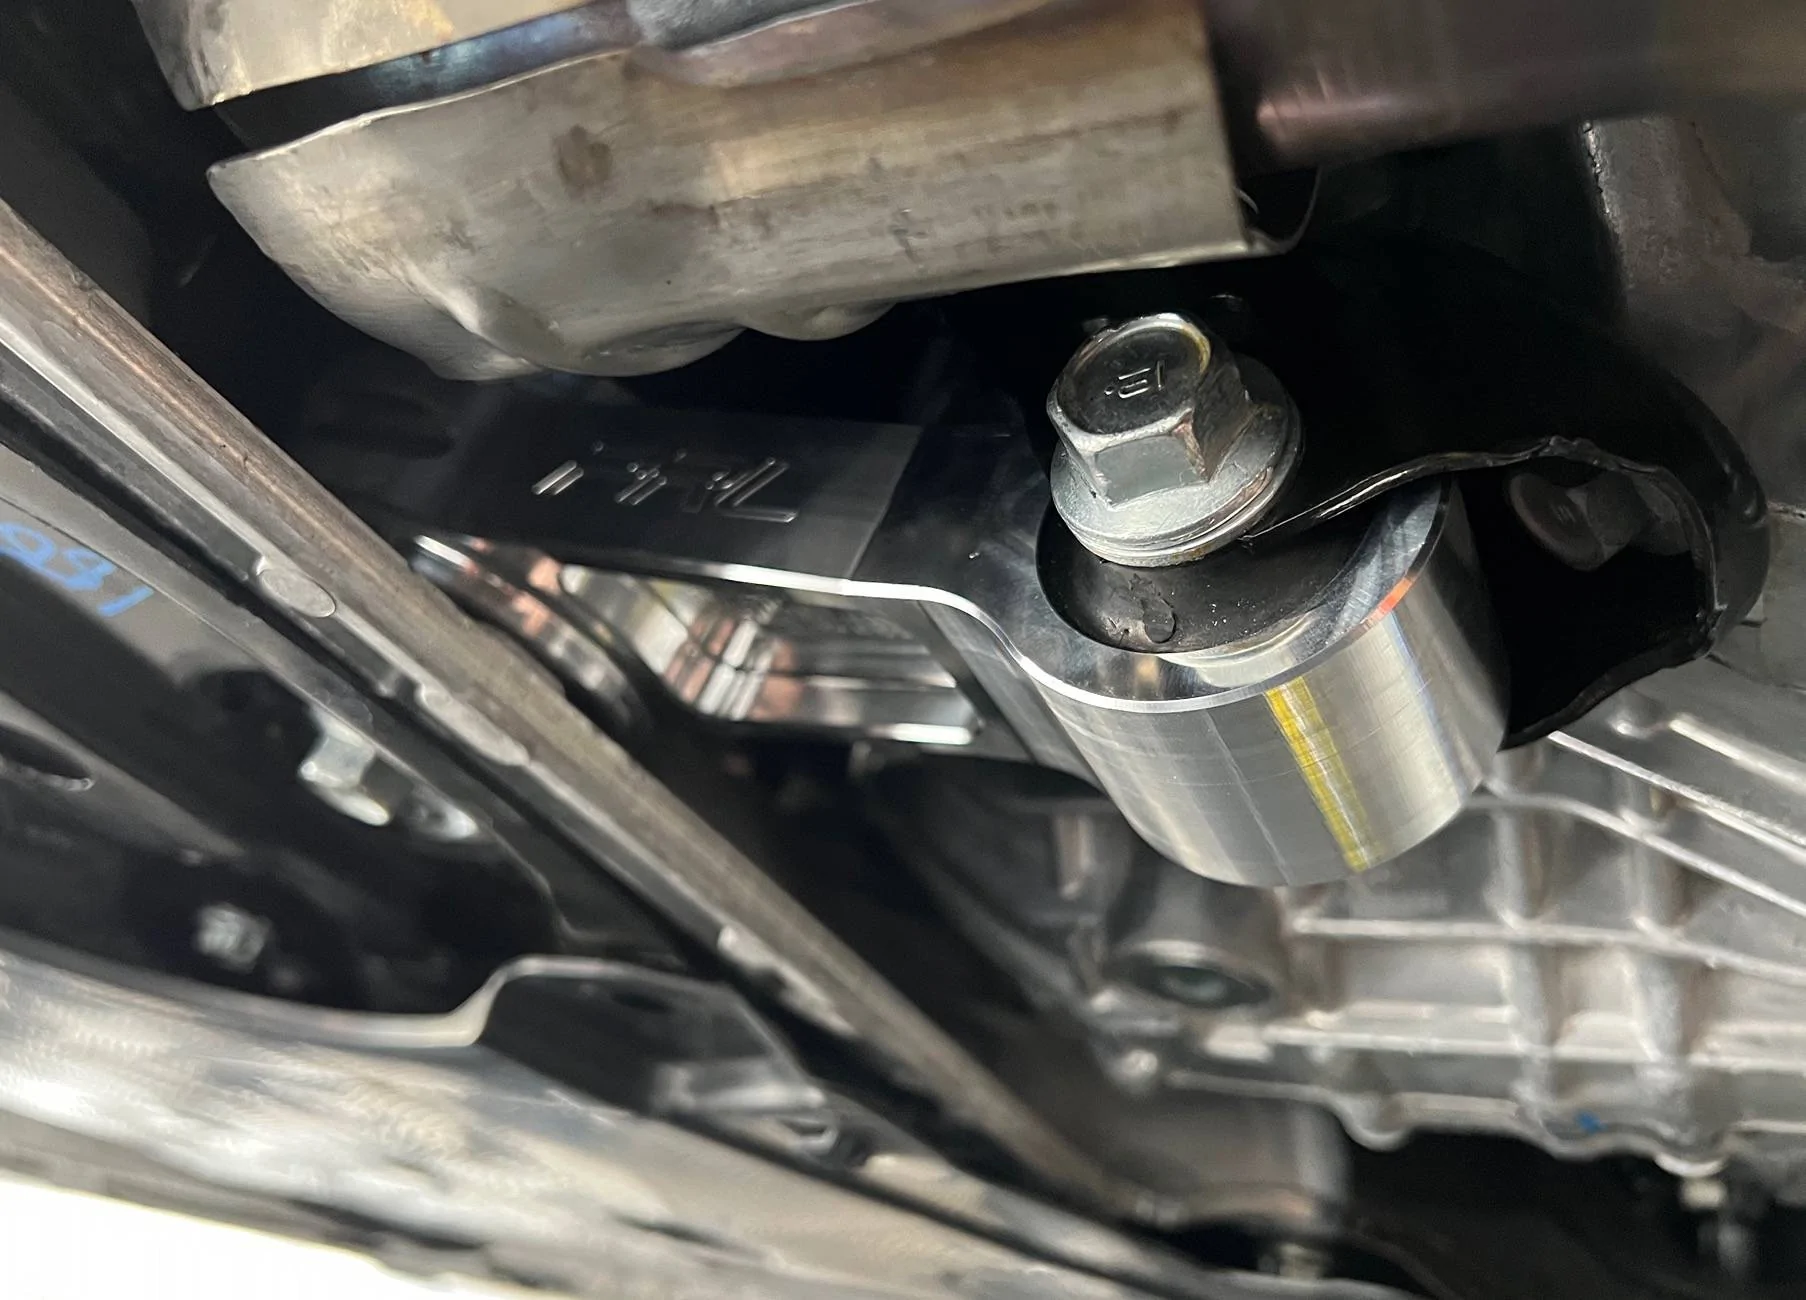
It's 10-15 minute easy installation.For those that have installed the PRL Rear Engine Mount, is there ready access and it is as simple as removing two bolts, pulling the stock one out, and installing the new one? All the videos I can find cover the Type R or other non Type S car. I don't have access to anything to get it off the ground but being retired military I am taking it 60 miles to my nearest base auto hobby shop and putting it on a lift to do it. Want to fully know what to expect before getting there.
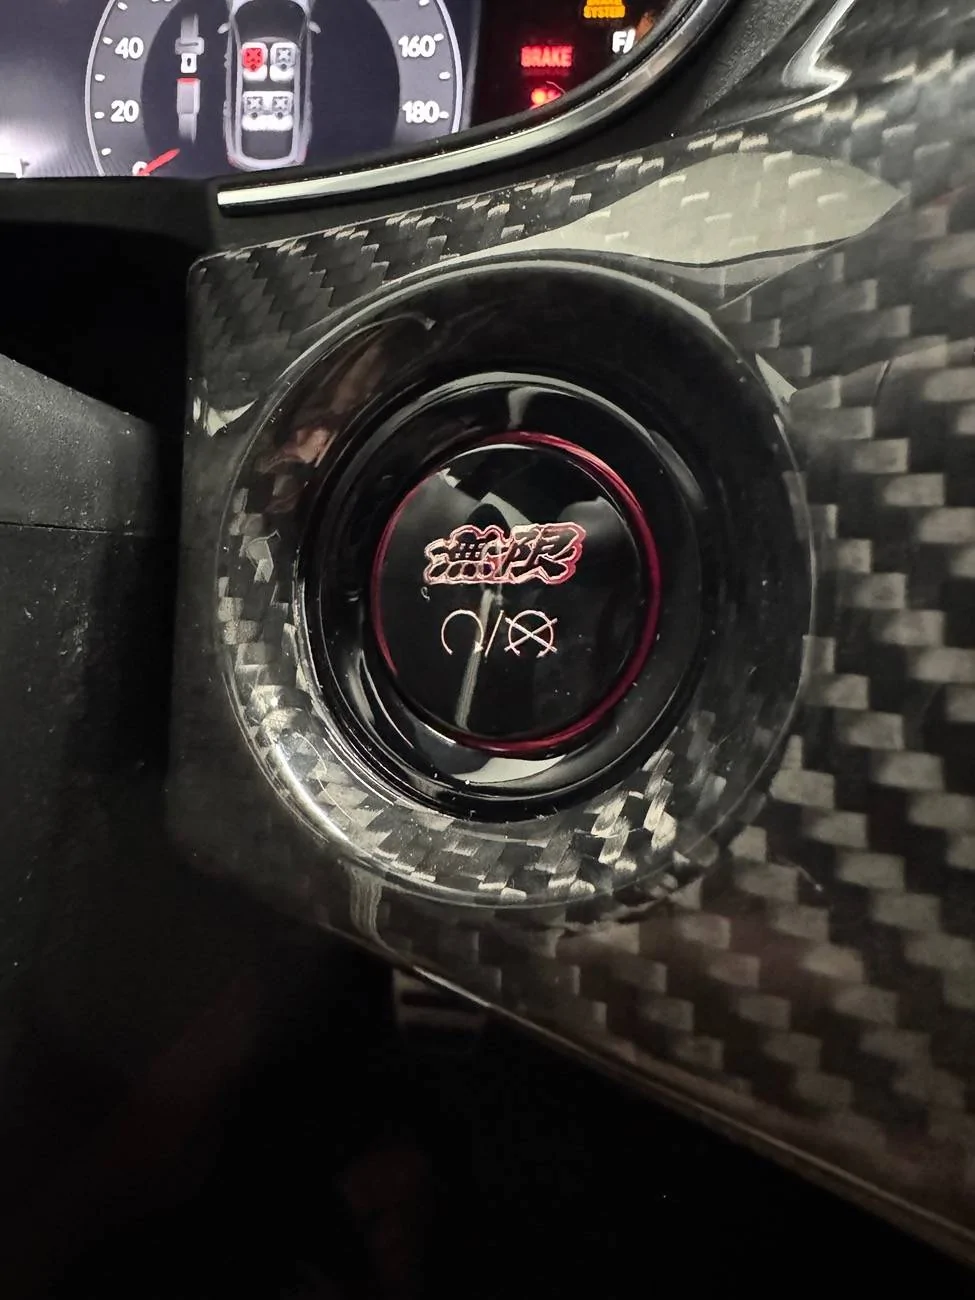
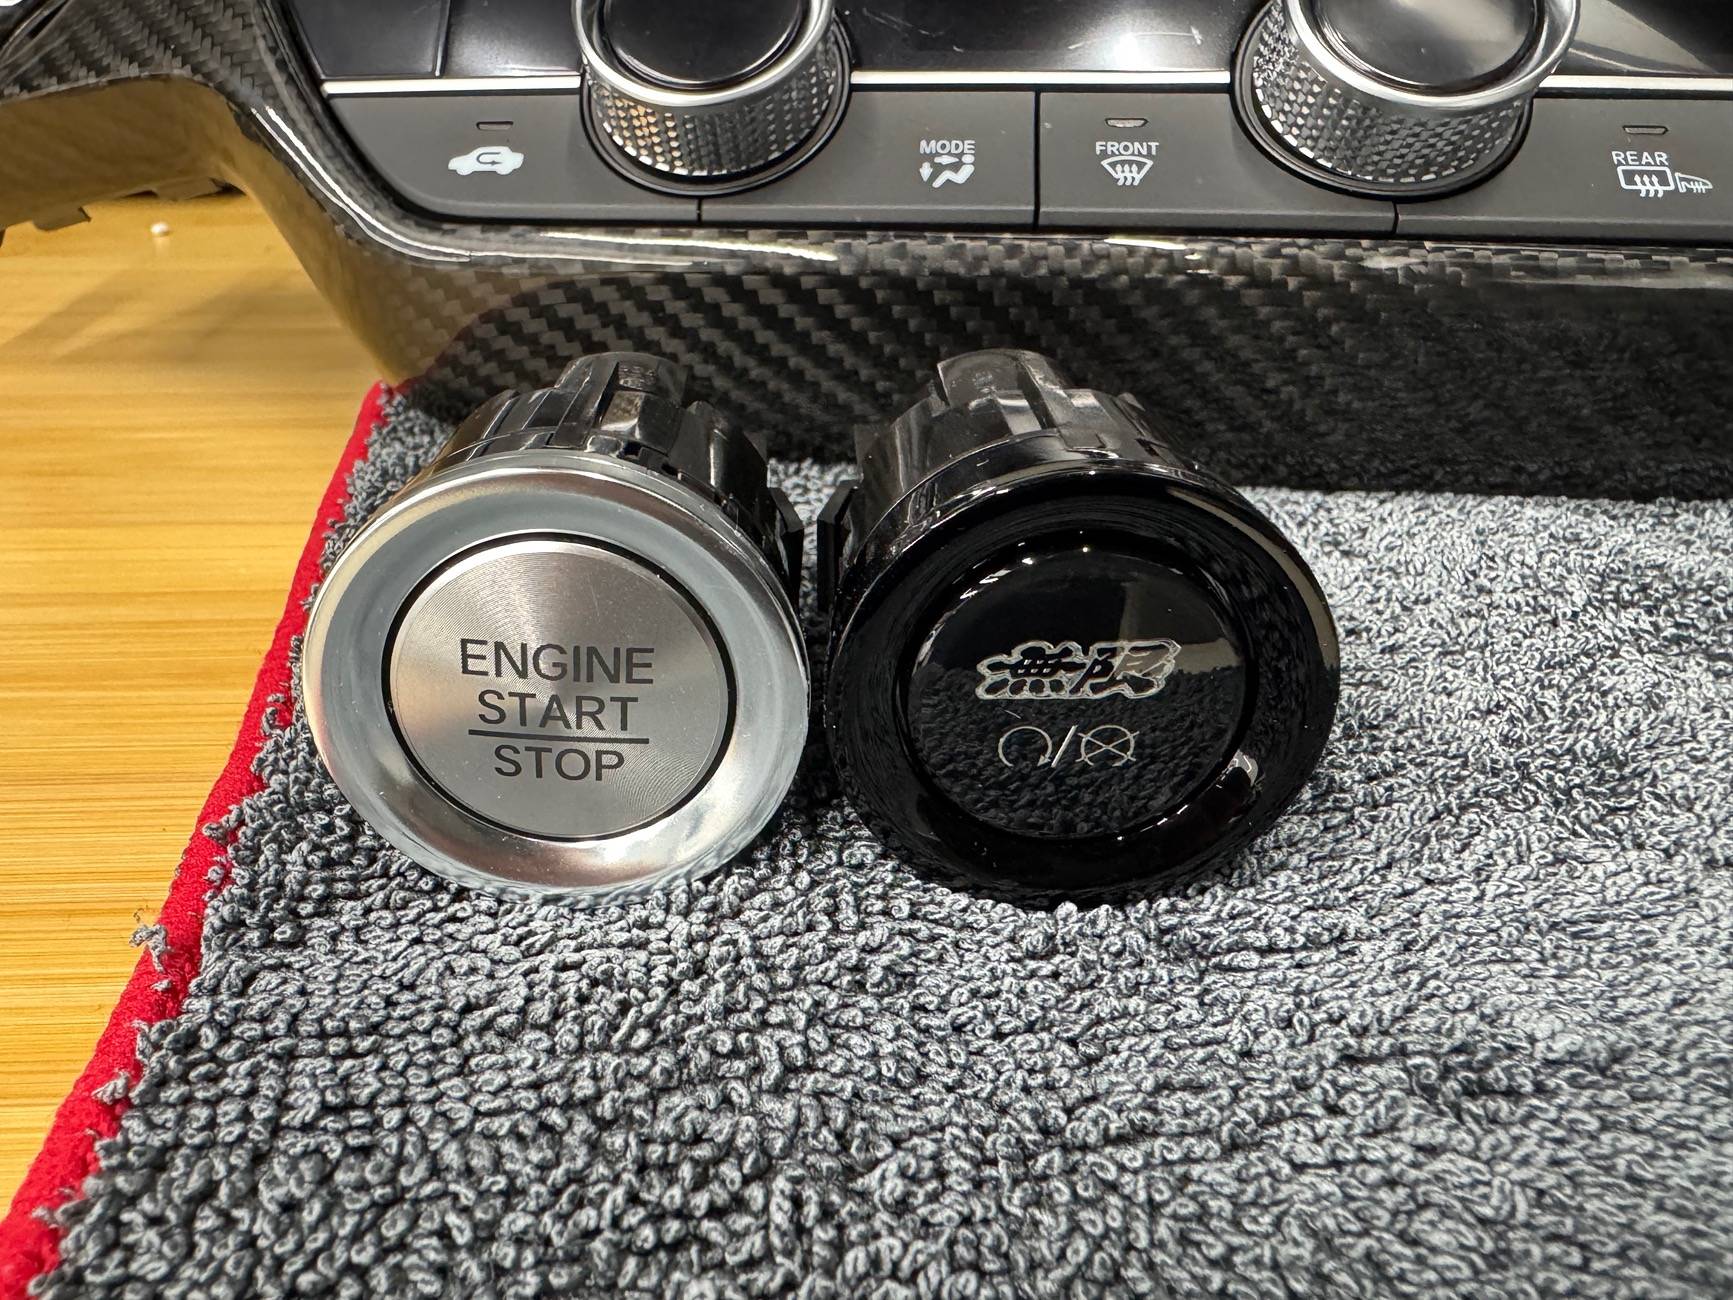
You got a part number for that Mugen start button?mugen start button
https://www.blackhawkjapan.com/products/mugen-35881-xnn-k0s0You got a part number for that Mugen start button?
Just did mine recently and it's pretty easy. With the PRL front pipe you can get the mount out without removing it or anything and obviously the stock pipe is even easier. Might want to get a pry bar just for some leverage because you'll need to wiggle and push things around some to get it into place but it took about 15-20 minutes like others have said.For those that have installed the PRL Rear Engine Mount, is there ready access and it is as simple as removing two bolts, pulling the stock one out, and installing the new one? All the videos I can find cover the Type R or other non Type S car. I don't have access to anything to get it off the ground but being retired military I am taking it 60 miles to my nearest base auto hobby shop and putting it on a lift to do it. Want to fully know what to expect before getting there.