Spart
Senior Member
- Thread starter
- #1
BLUF: this thing's pretty great! I think, very much worth the premium you pay. The instructions could use some work, but I'll expound on that down below.
The driving experience is best summed up as this: it feels like I'm sliding the shifter into each gear rather than dragging it into each gear. It's a very satisfying shift sensation now, as far as cable shifters go.
While it's a nice, welcome improvement, my principal motivation for getting this shifter was to stop missing 5th gear. I'm pretty tall, and with where I have my seat positioned, properly hitting 5th gear is either done in a cavalier manner with the tips of my fingers rather than my palm on the shifter, or if I want to use my palm I have to push my shoulders away from the seatback. I have a 75" wingspan and it's just not enough unless I want to position the seat where I will be uncomfortable. I prefer not to slouch when I drive and keep my shoulders against the backrest because of an old injury. Needless to say, every once in a while I don't quite push the shifter all the way into fifth when I'm using my fingertips to shift.
I had a few ways to solve that with this shifter: shortening the throw, raising the knob, and shifting the whole shifter body. I did all three to varying degrees. I was also going to explore a fourth method of shimming the shifter where it bolts to the bracket in the car, but I found that unnecessary. But if you find it necessary, I would say that it felt like it was doable.
Regarding the shifter body, I used position "C" to get the shifter as far to the left as possible.
Regarding the height, I played around with the maximum height I could get away with and not have the boot be taut or stretched out when going into first gear (which seems to put the most stress on the boot in position "C".) I set the upper rod at a height between 3 and 4, and then used the jam nut to fine-tune the height.
And regarding the throw, while playing around with the max height, I also reduced the fore-aft throw very slightly from the setting it was on out of the box so as to avoid stretching the boot out. I wish I could tell you the number, but I performed this adjustment after I had already reinstalled the center console and so was not able to see the markings.
I would say that even with the knob being higher, the throw is somewhat reduced from where it was with the factory shifter. Can't quantify that because I didn't bother to measure but if your goal is to not reduce the throw at all, that's possible with the adjustability. You can also reduce it substantially more than I did.

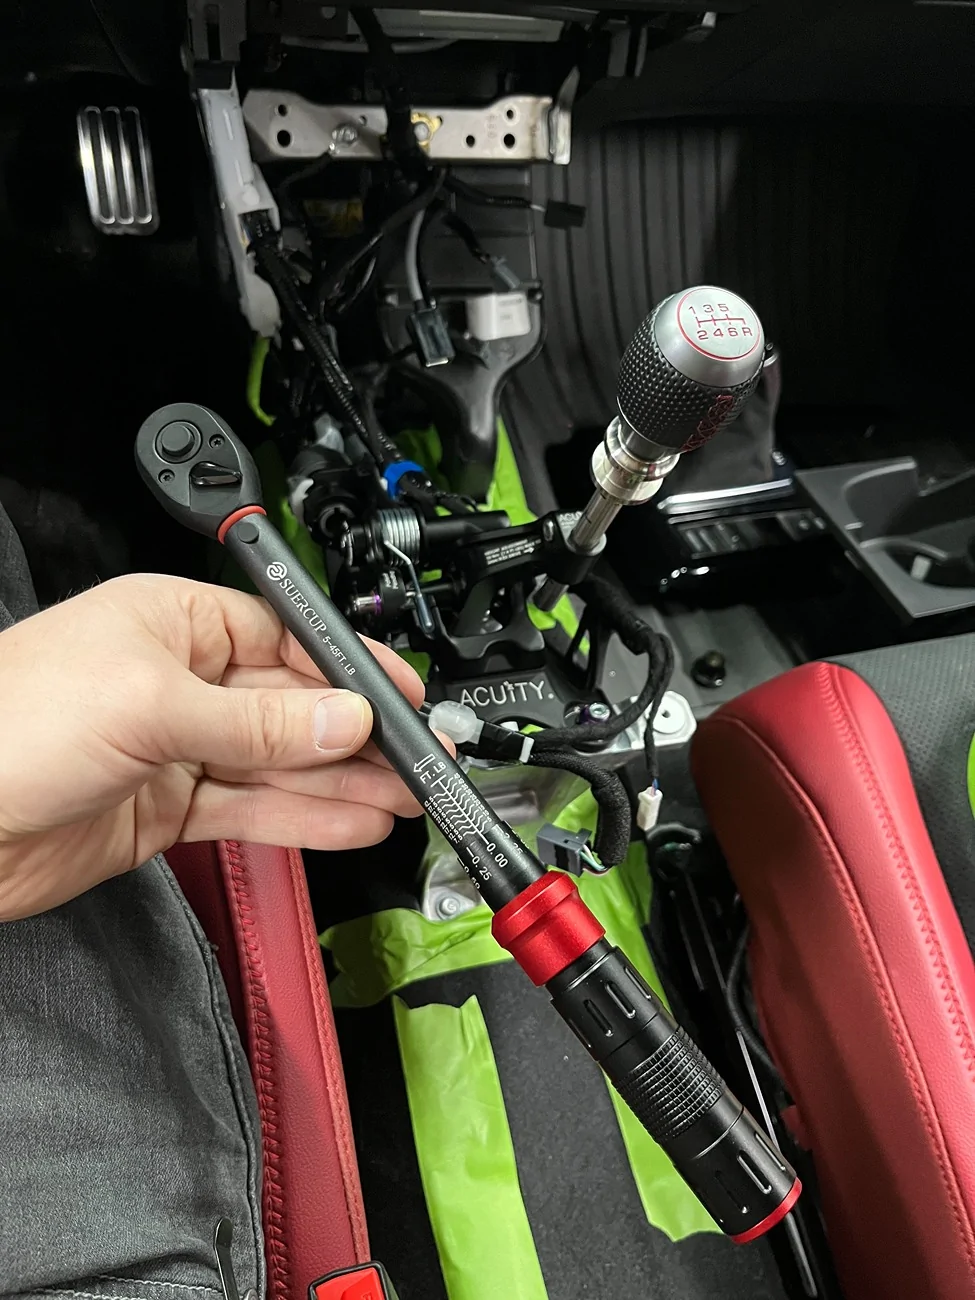
As you can see, I was able to get the knob to sit decently high. This alone reduces the reach for me, as I'm reaching down less to access the shifter.
The quality of this unit is very high. I am reminded of the quality of work that a company called MGW puts into their short shifters. While it's not really fair to compare a cable shifter to something like the MGW shifters that I installed in my S550 Mustangs, Acuity still did a really good job here.
A few tips on installation:
The driving experience is best summed up as this: it feels like I'm sliding the shifter into each gear rather than dragging it into each gear. It's a very satisfying shift sensation now, as far as cable shifters go.
While it's a nice, welcome improvement, my principal motivation for getting this shifter was to stop missing 5th gear. I'm pretty tall, and with where I have my seat positioned, properly hitting 5th gear is either done in a cavalier manner with the tips of my fingers rather than my palm on the shifter, or if I want to use my palm I have to push my shoulders away from the seatback. I have a 75" wingspan and it's just not enough unless I want to position the seat where I will be uncomfortable. I prefer not to slouch when I drive and keep my shoulders against the backrest because of an old injury. Needless to say, every once in a while I don't quite push the shifter all the way into fifth when I'm using my fingertips to shift.
I had a few ways to solve that with this shifter: shortening the throw, raising the knob, and shifting the whole shifter body. I did all three to varying degrees. I was also going to explore a fourth method of shimming the shifter where it bolts to the bracket in the car, but I found that unnecessary. But if you find it necessary, I would say that it felt like it was doable.
Regarding the shifter body, I used position "C" to get the shifter as far to the left as possible.
Regarding the height, I played around with the maximum height I could get away with and not have the boot be taut or stretched out when going into first gear (which seems to put the most stress on the boot in position "C".) I set the upper rod at a height between 3 and 4, and then used the jam nut to fine-tune the height.
And regarding the throw, while playing around with the max height, I also reduced the fore-aft throw very slightly from the setting it was on out of the box so as to avoid stretching the boot out. I wish I could tell you the number, but I performed this adjustment after I had already reinstalled the center console and so was not able to see the markings.
I would say that even with the knob being higher, the throw is somewhat reduced from where it was with the factory shifter. Can't quantify that because I didn't bother to measure but if your goal is to not reduce the throw at all, that's possible with the adjustability. You can also reduce it substantially more than I did.
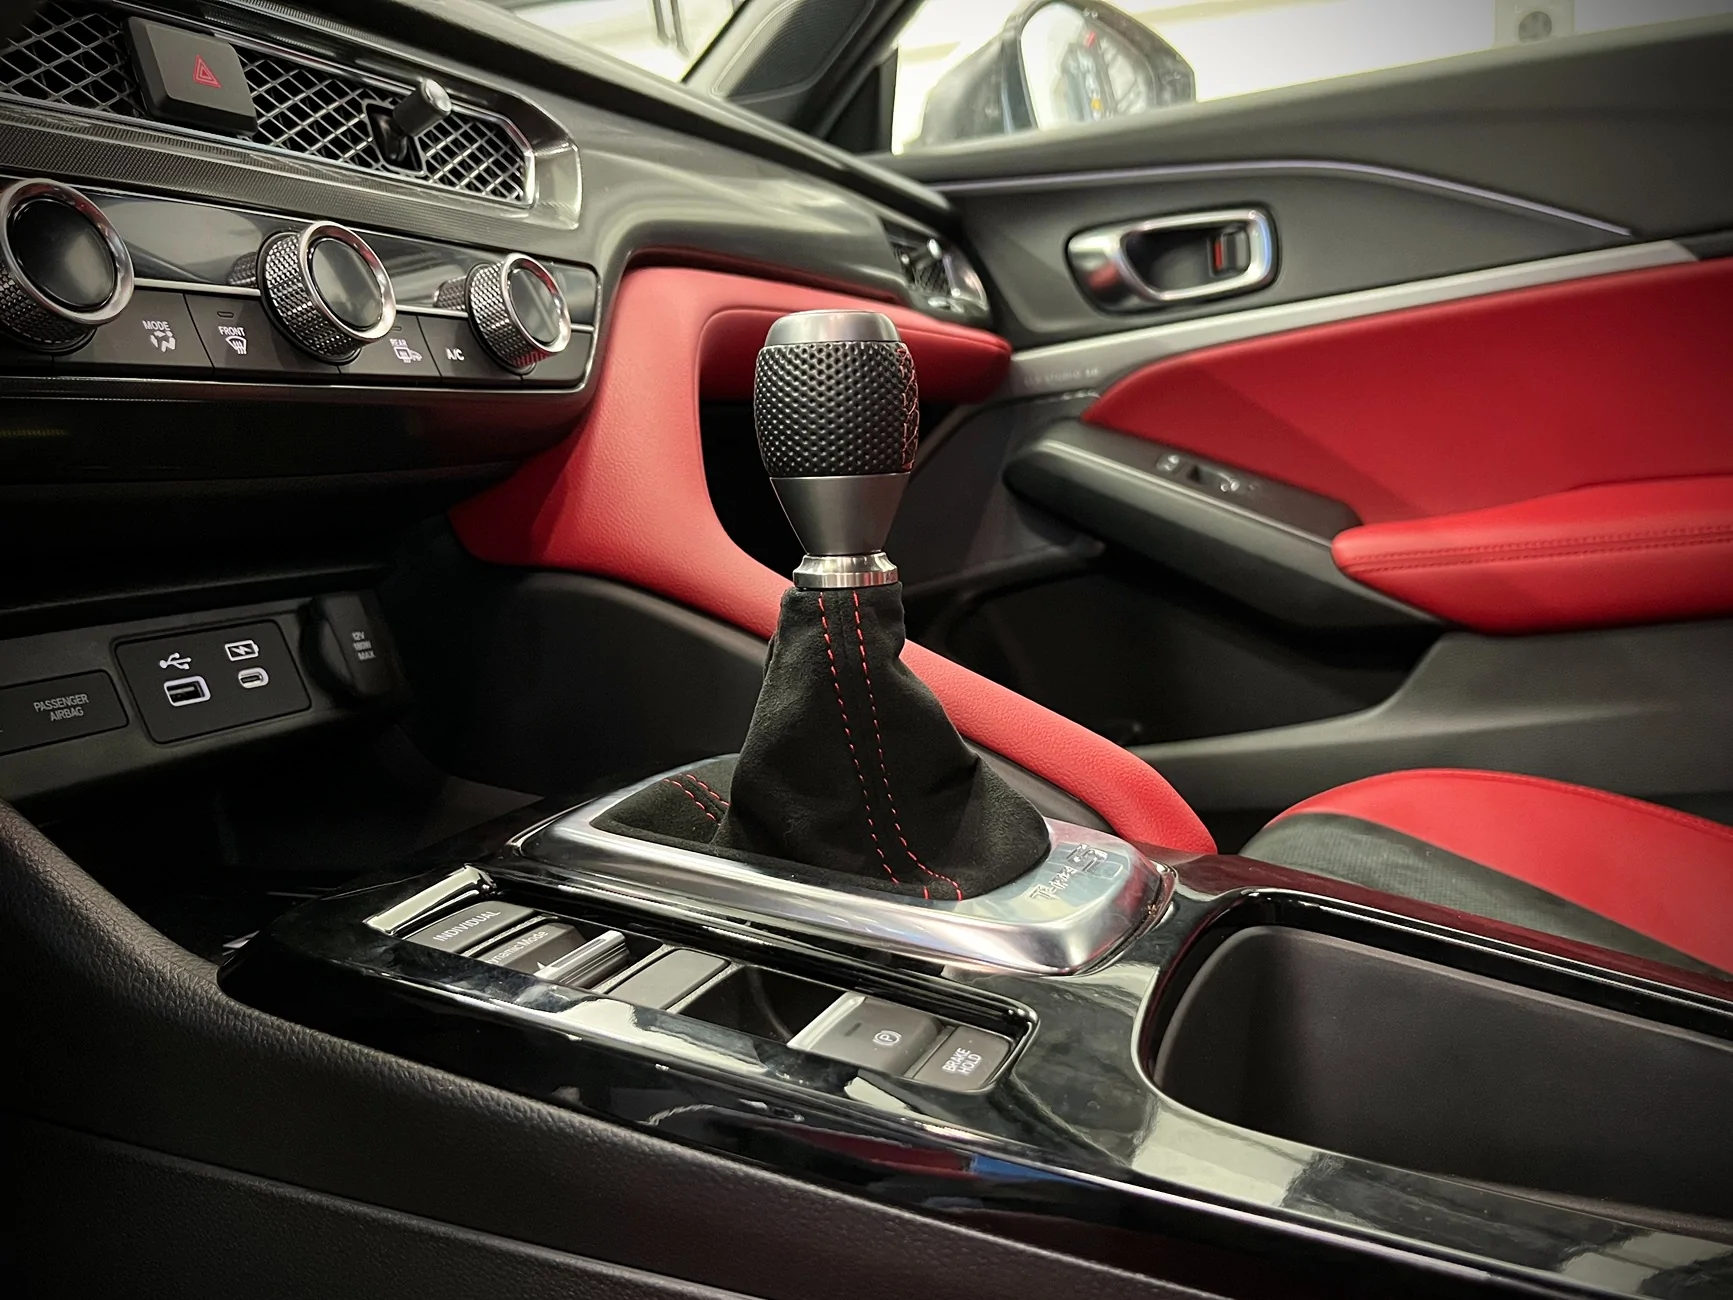
As you can see, I was able to get the knob to sit decently high. This alone reduces the reach for me, as I'm reaching down less to access the shifter.
The quality of this unit is very high. I am reminded of the quality of work that a company called MGW puts into their short shifters. While it's not really fair to compare a cable shifter to something like the MGW shifters that I installed in my S550 Mustangs, Acuity still did a really good job here.
A few tips on installation:
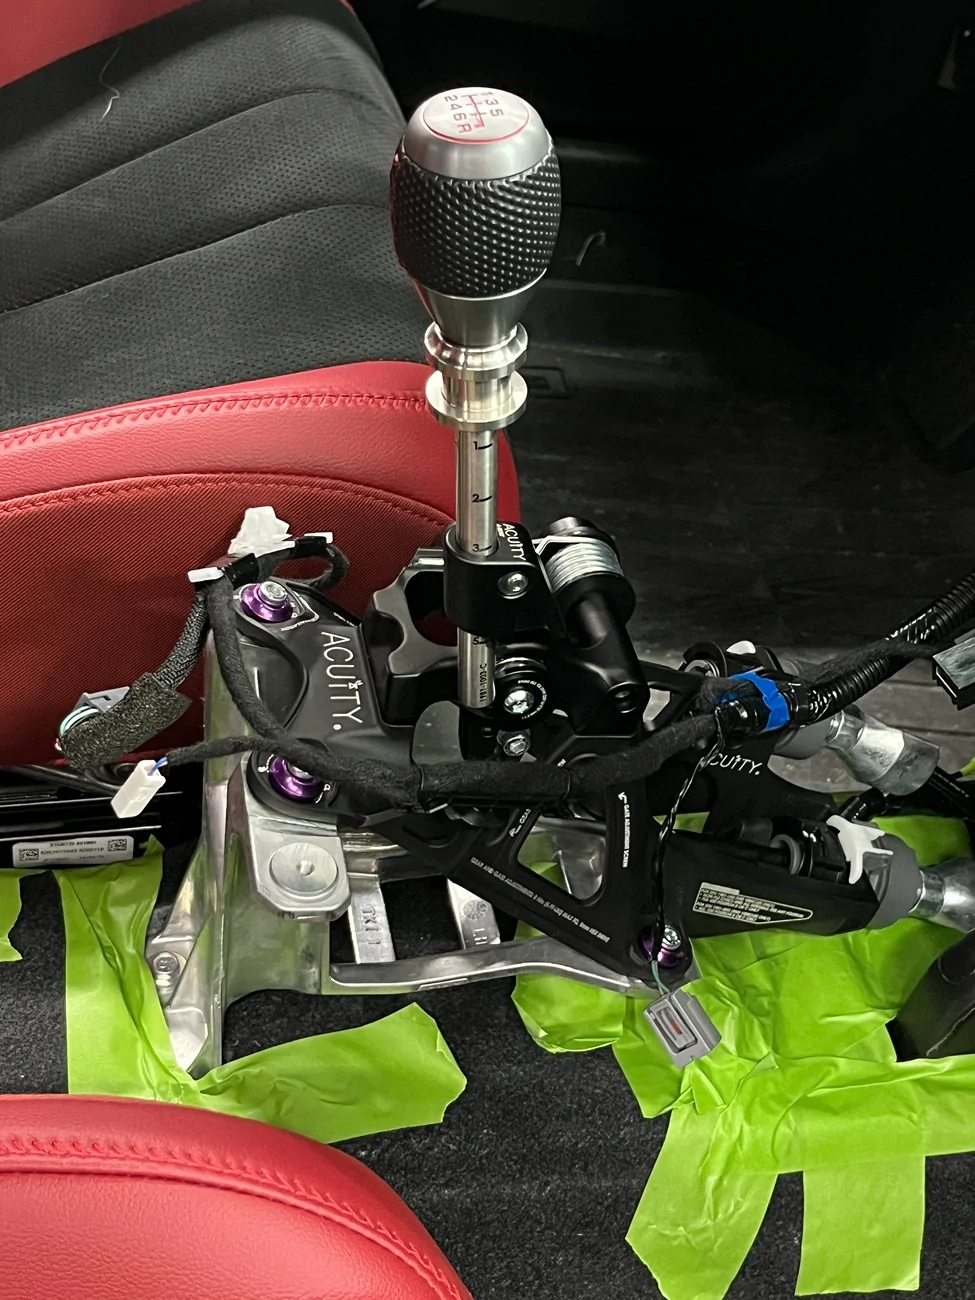
- I heard some horror stories about folks dropping bolts or clips that found their way into the holes of the carpet, and then migrated down around the exhaust hump to the floorboards. Resulting in either throwing in the towel and ordering a new part, or going so far as to remove the seats in order to get access to the lost component. I taped over all of the open holes in the carpet with painter's tape as soon as i got the center console out:

and this proved useful, as that weird clip that holds the gate selector cable on came off unexpectedly and I'm sure it could have landed in one of those holes right under the shifter.
- The knob height adjustment, gear throw adjustment, and gate spacing adjustment can all be adjusted with the console reinstalled and the trim surround removed. It's much harder to get to the gear throw adjustment and gate spacing adjustment, but if you're trying to run up against the edge of what the factory boot will let you do like I was, it is doable. You'll be doing it blindly though, so familiarize yourself with how the adjustments work before you reinstall the console.
- If you use the Acuity boot collar, a lot of folks have pointed out that it causes the boot to scrunch up. This is because the inner diameter of Acuity's boot collar is smaller than the OEM one. I wrapped some layers of the painter's tape I had on hand around it, then finished that off with a layer of fuzzy Tesa harness tape to give the alcantara something rough to "grab". This seemed to do the trick.
- The Acuity instructions on how to remove the clip that holds the harness to the shifter surround are best ignored. Instead you want to remove the four screws holding the boot bracket to the surround and remove the boot bracket, freeing the surround from the boot - and the harness that's actually clipped to the boot bracket. Once the surround is set aside, you can easily remove the harness clip from the boot bracket. This is more easily explained in a video, so here you go:
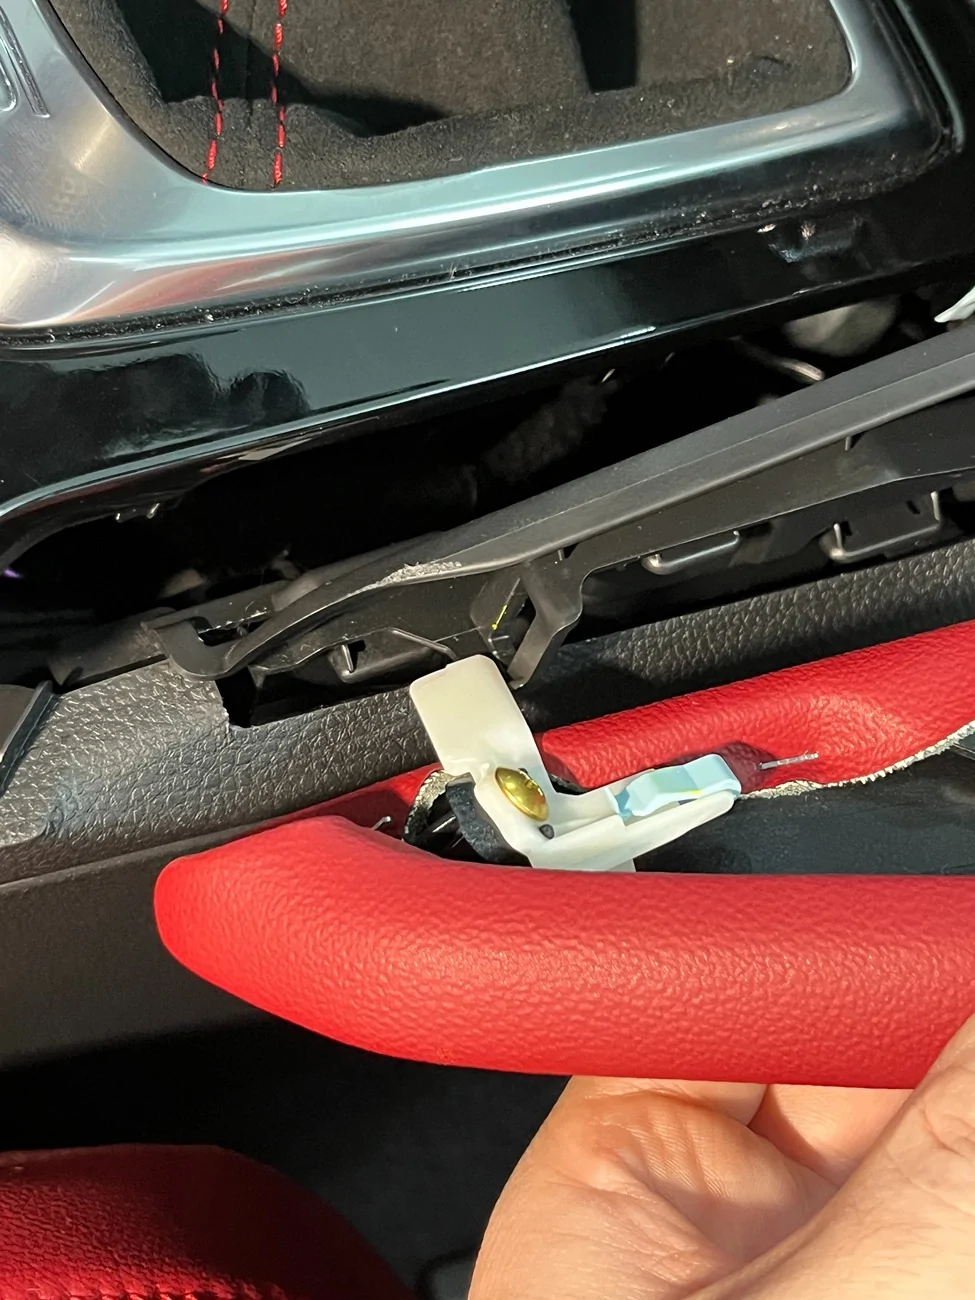
- The Acuity instructions on how to remove the Integra's passenger side dash pad are bass-ackwards. They advise you to start pulling from the end by the shifter surround, DO NOT DO THIS. You want to start pulling from the end by the door. The reason why is that last clip by the shifter surround only wants to come free if you've released all the other clips first, because it has an extra little tab on it, sticking out at a right-angle from the clip:
...and if you try to pull that one out first the way Acuity shows you to do it, you're very likely to break that clip.
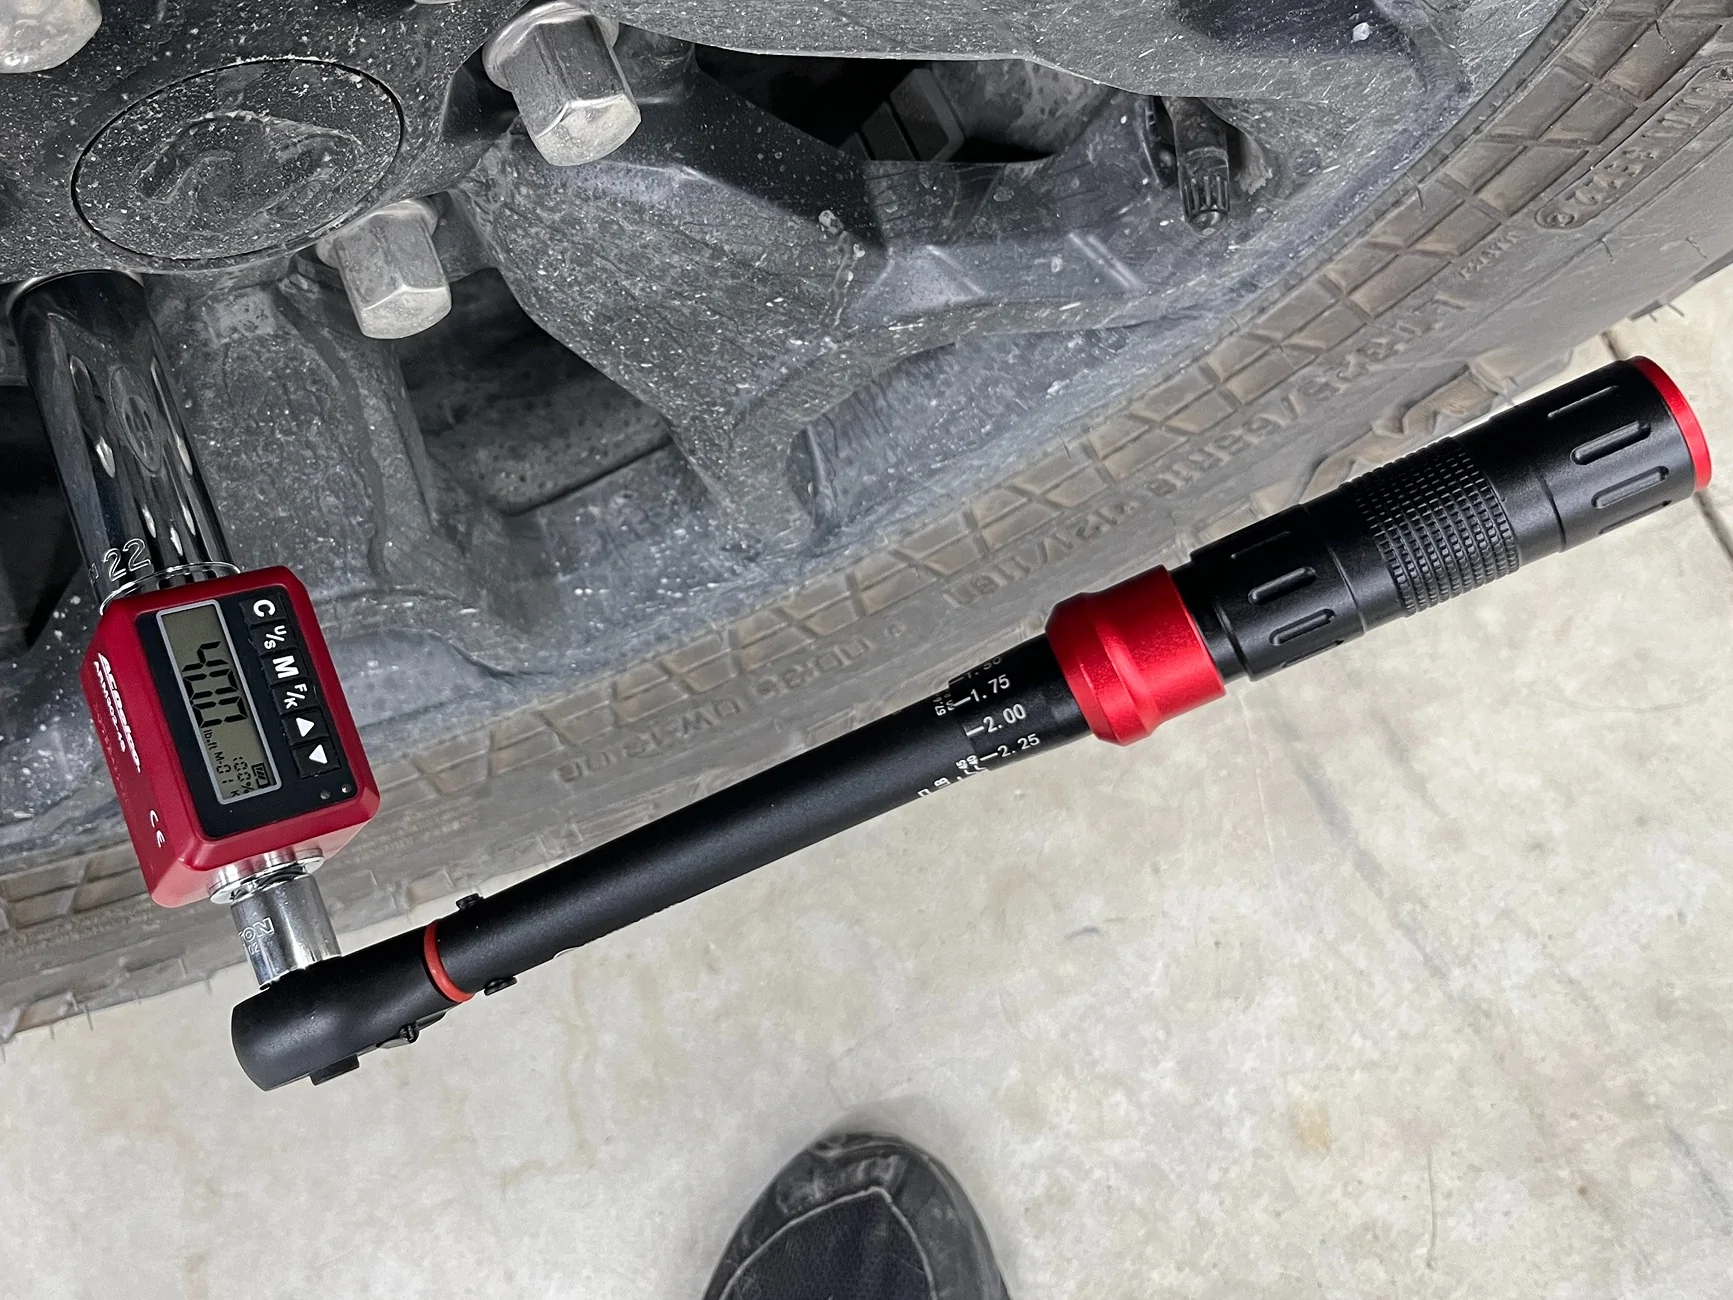
- Acuity has a lot of very specific torque values that are all under 10 ft/lb. My smallest torque wrench (aside from a torque screwdriver) only went down to 10 ft/lb, so I hunted around for a torque wrench with a useful range for this task. The YouTube channel "Project Farm" did a review of torque wrenches lately in which the alphabet-soup brand "Suercup" from Amazon performed quite well, and the reviews seemed positive. Suercup has a torque wrench with a nice 5-45 ft/lb scale. A lot of torque wrenches in this size only go up to ~20 ft/lb, and they're marked in inch pounds which can be annoying. This torque wrench proved accurate and it was great to use, for a whopping $30 I'd recommend it. As with any torque wrench, check it for calibration at least annually.
Set to 40 ft/lb and nailing it:
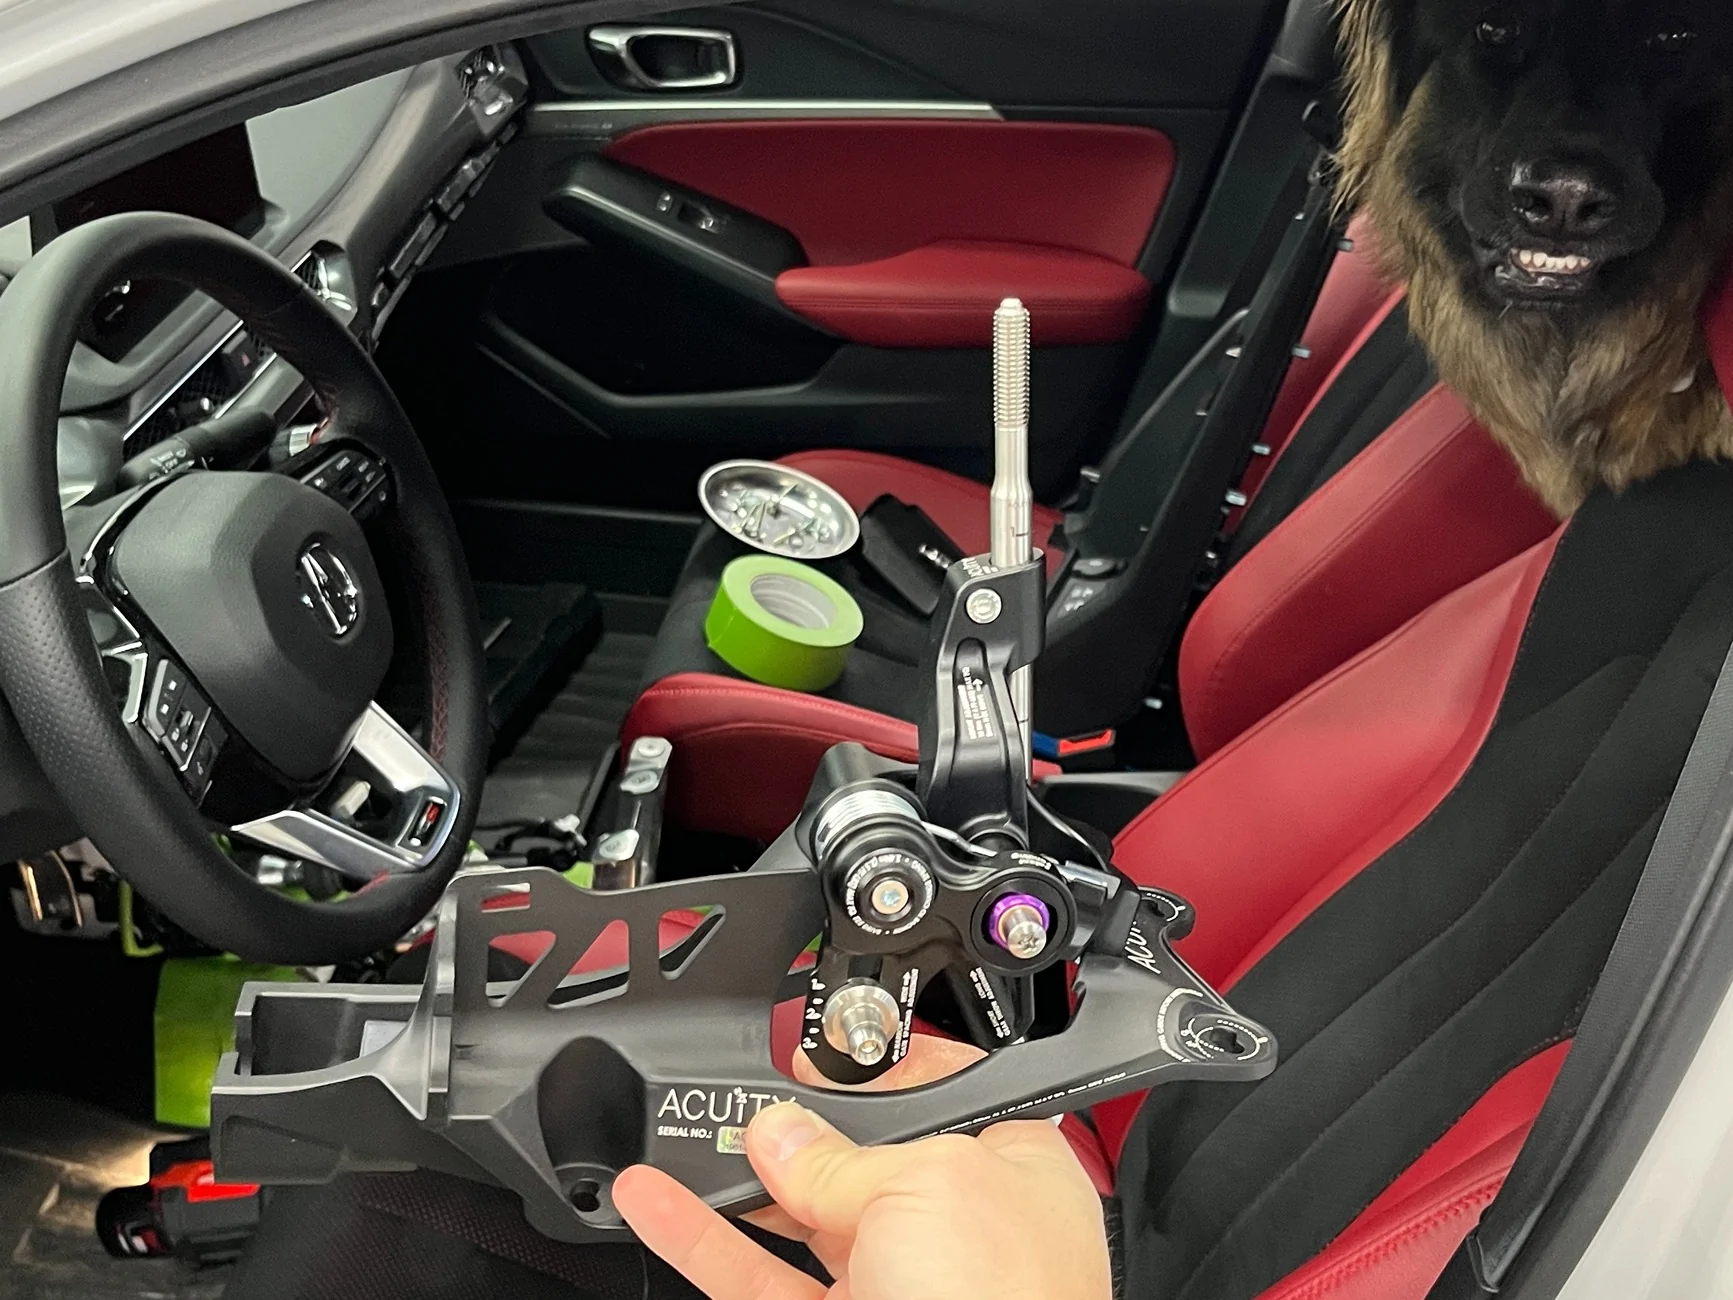
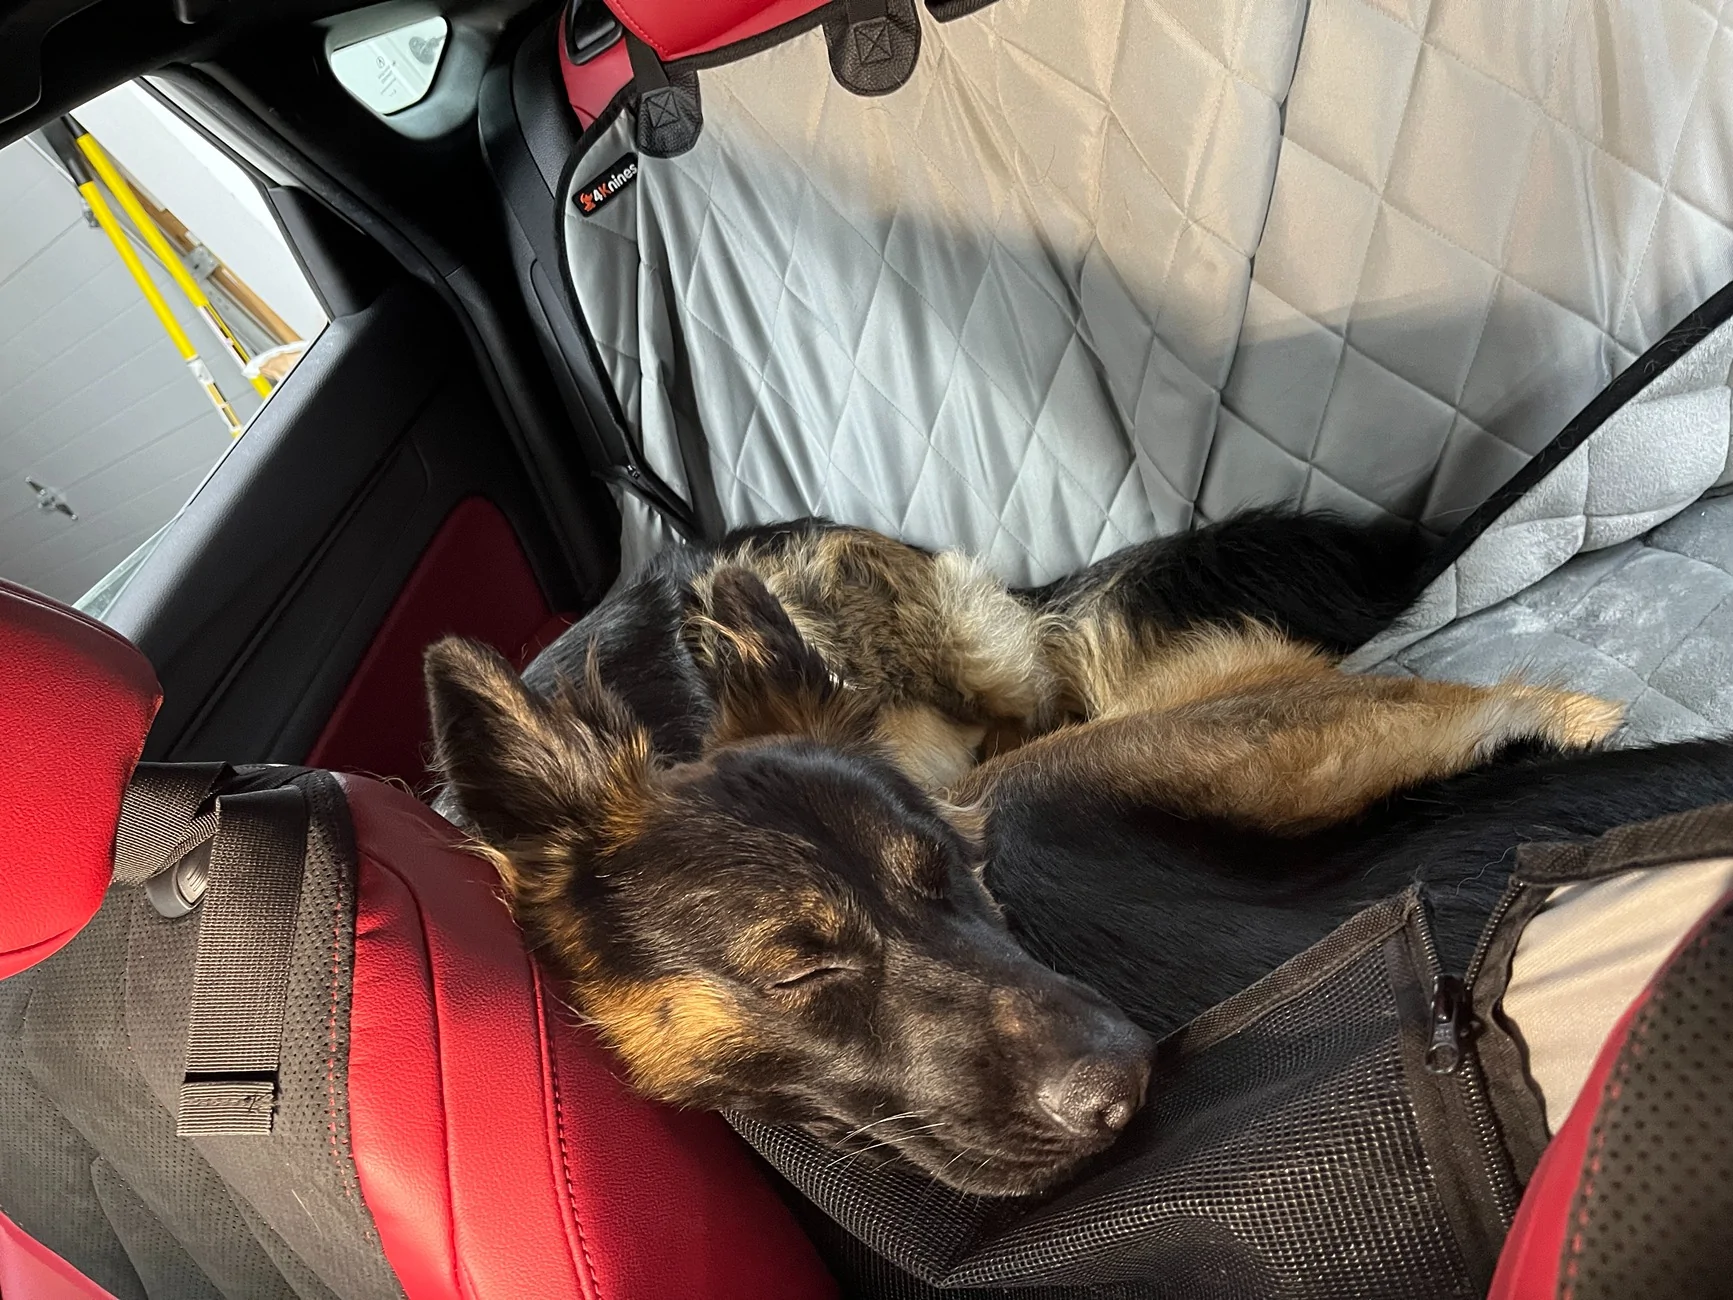
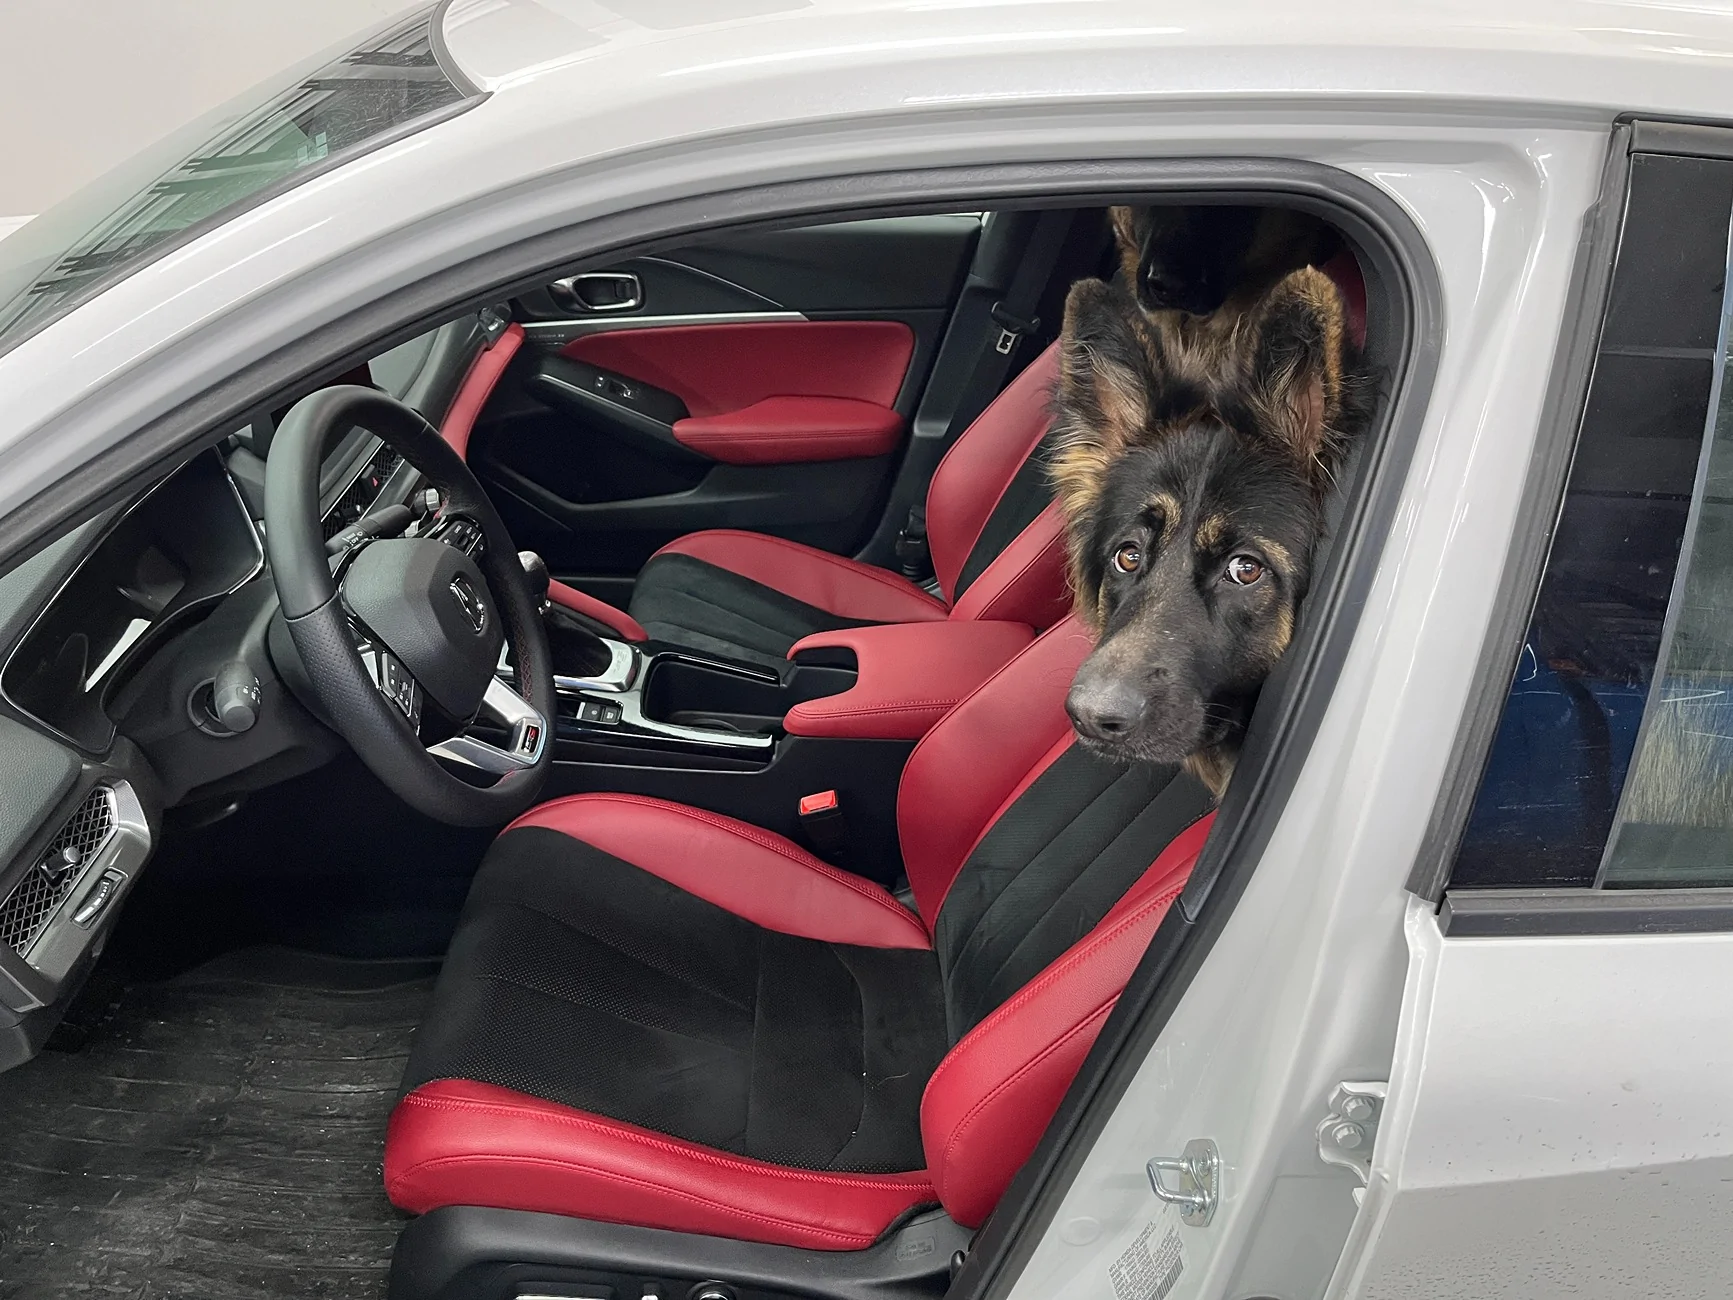
- Couldn't have done it without my lovely assistant. This is actually her car, after all.
Sponsored
Last edited: