Frenzal
Senior Member
- First Name
- Dan
- Joined
- May 18, 2023
- Threads
- 7
- Messages
- 602
- Reaction score
- 379
- Location
- Quebec, Canada
- Car(s)
- 2024 Integra type S, 2025 TLX type S, 2004 S2000
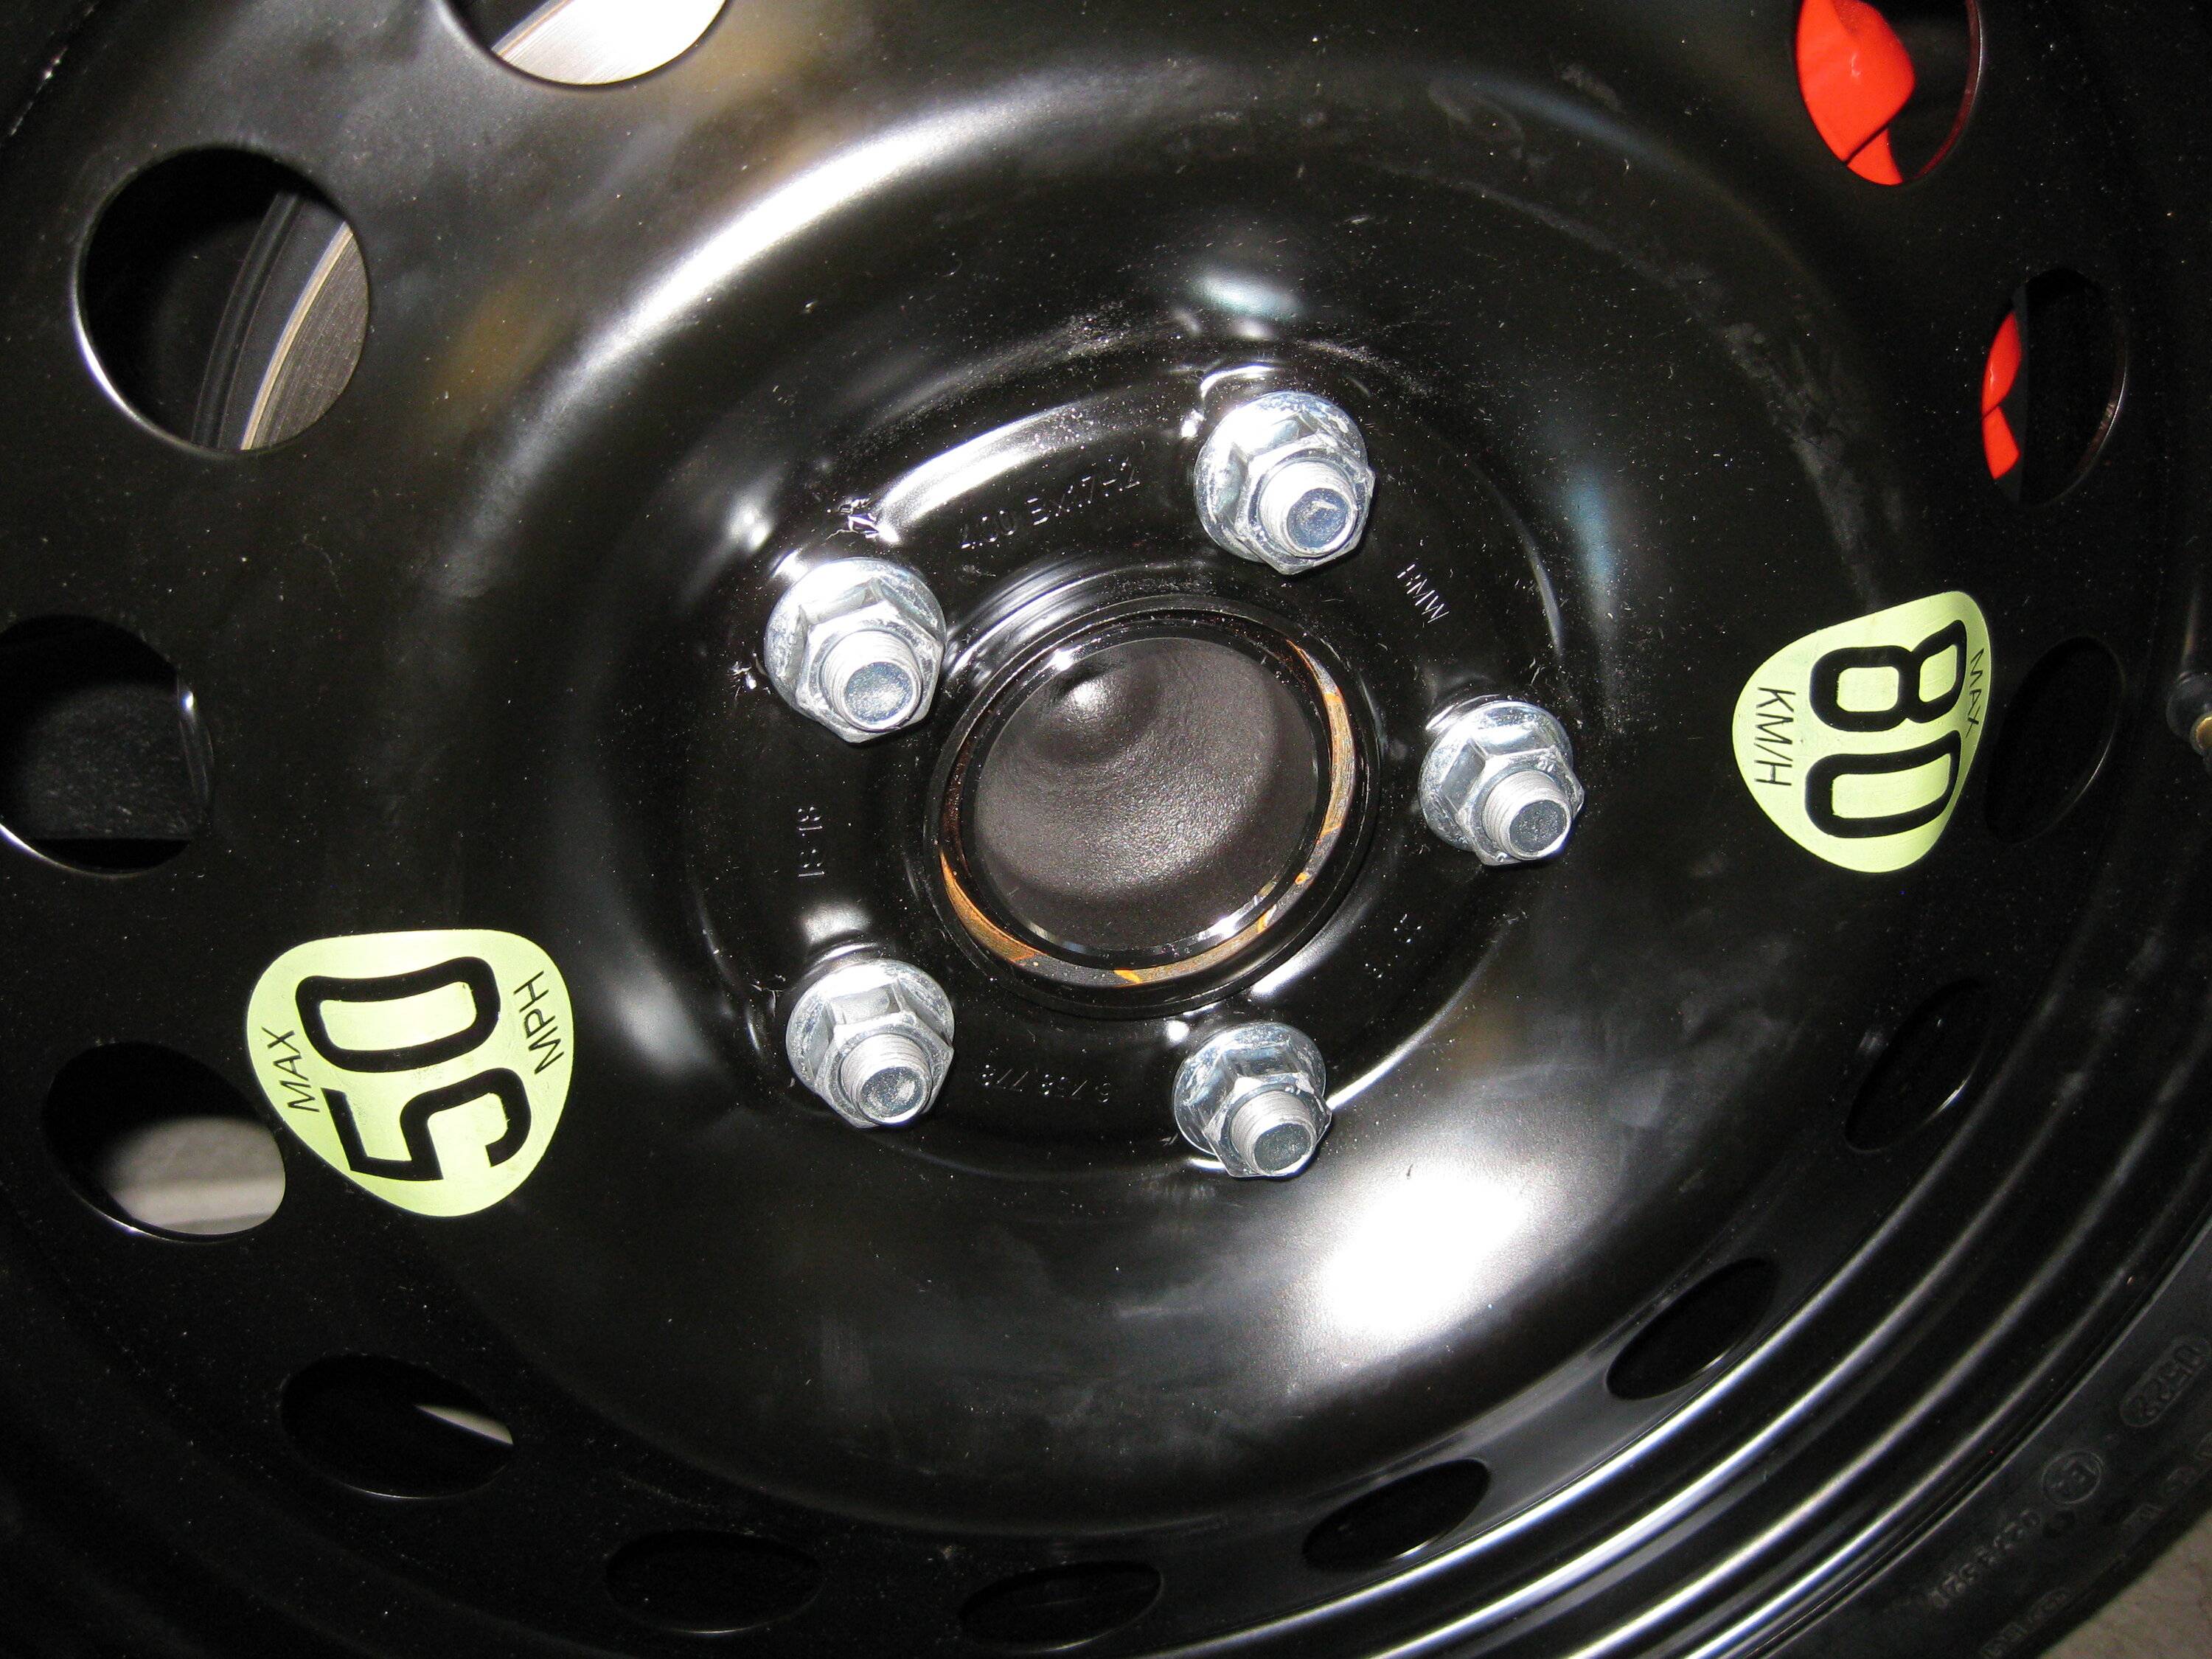
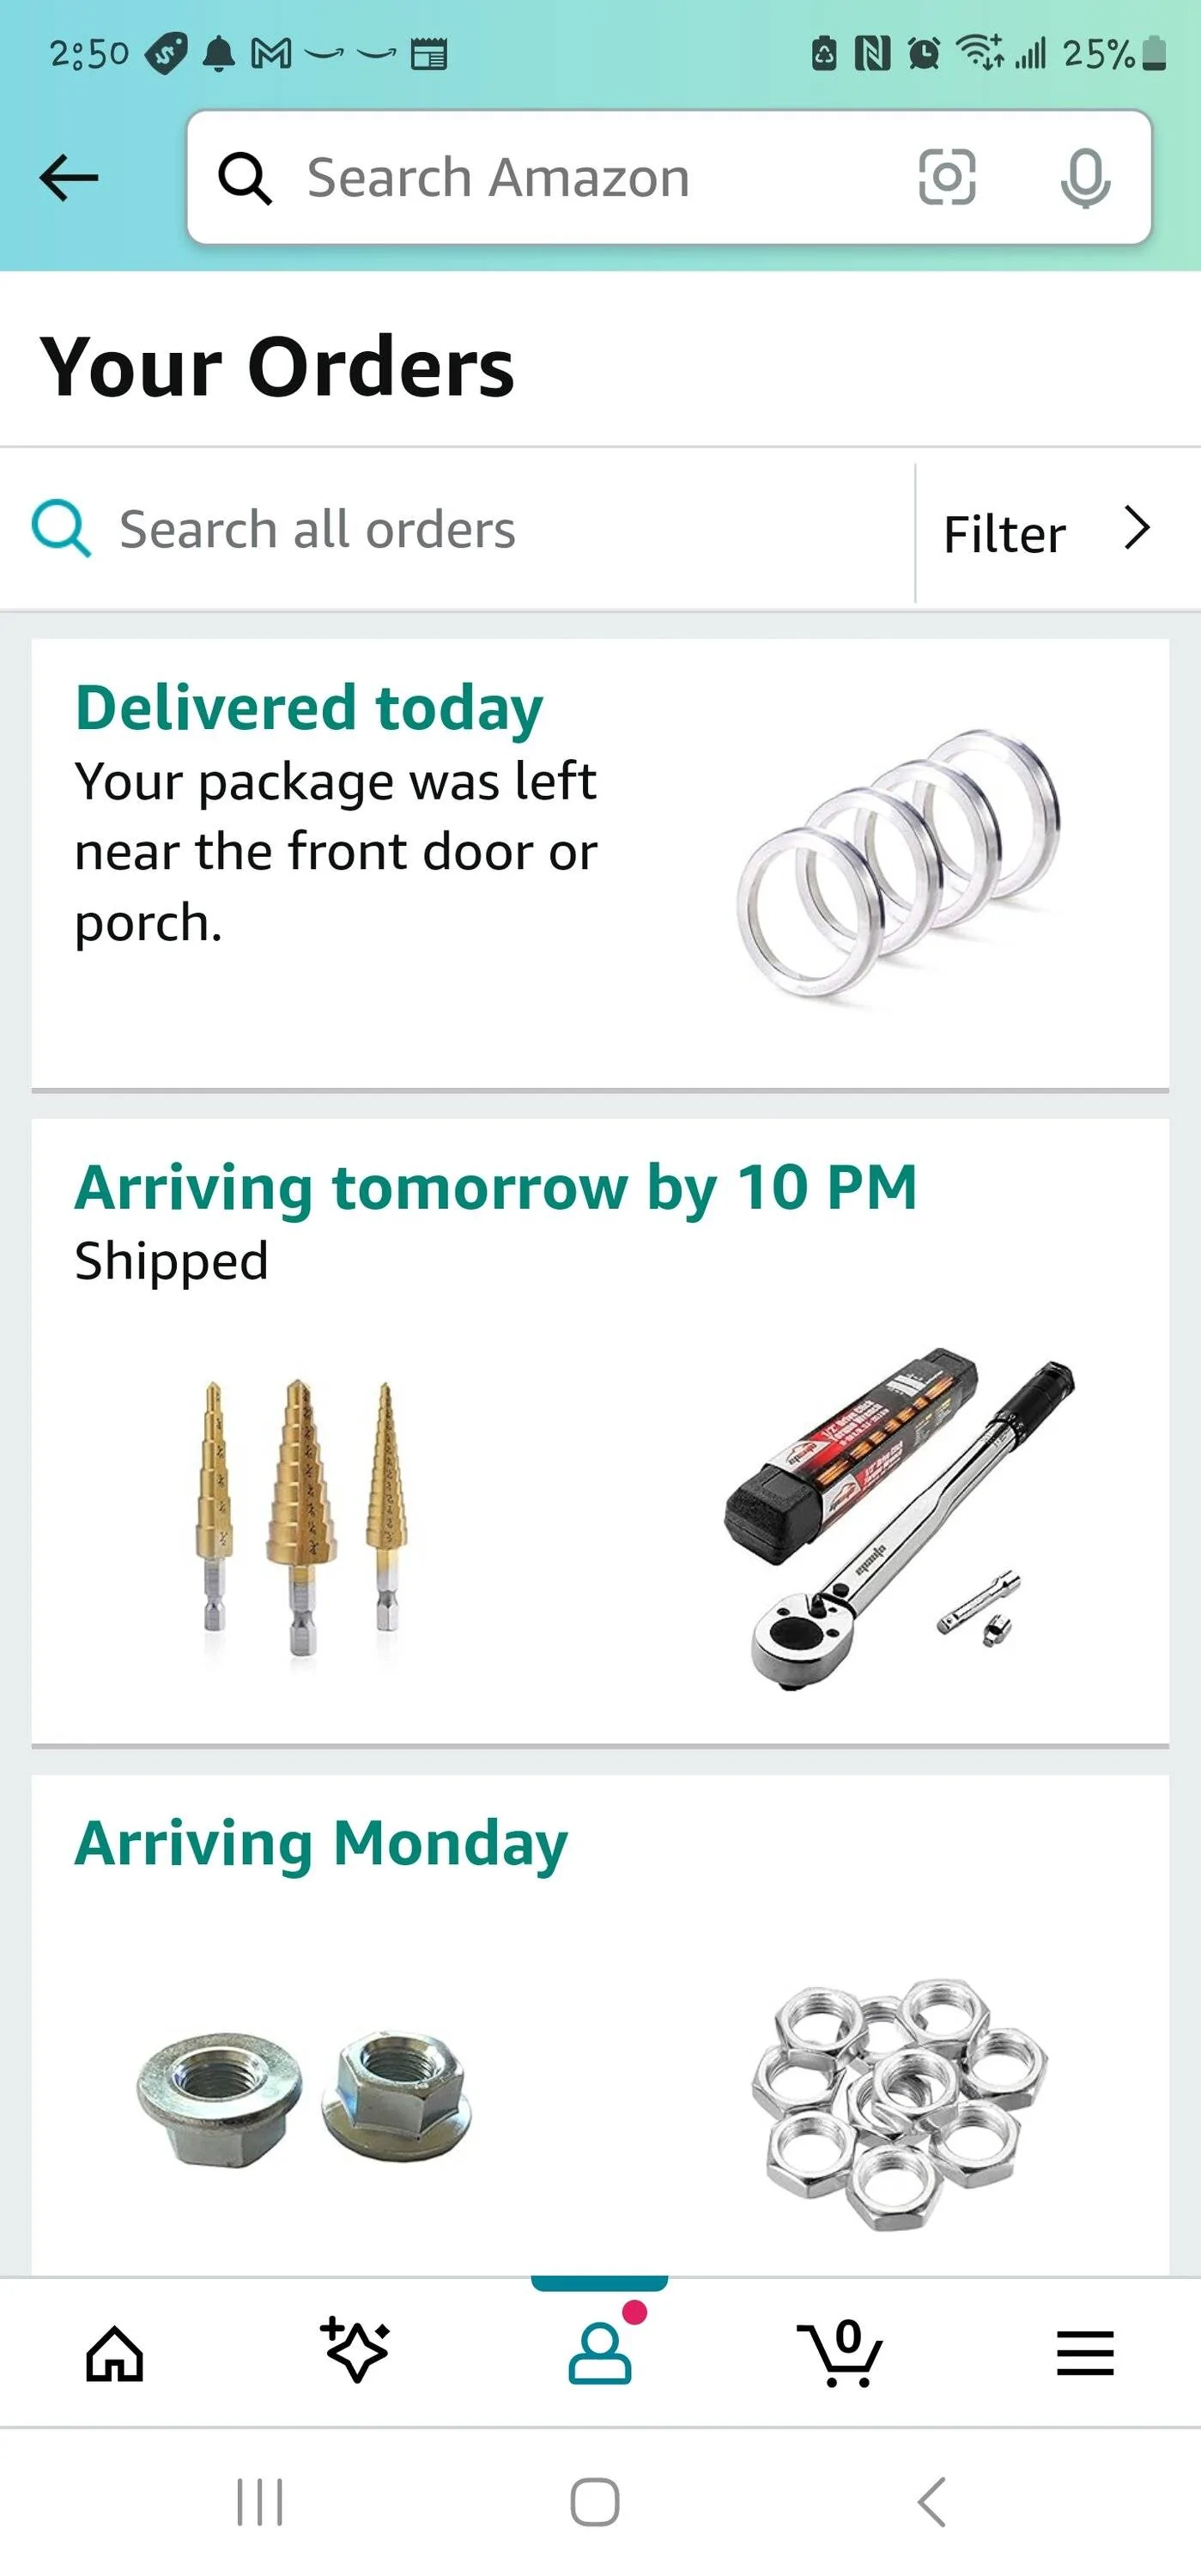
Please read my posts in this thread: https://www.integraforums.com/forum/threads/spare-tire-kit.51075/Got links for the rims and tires you used?
Have you been able to test how the stock lugs press against the rims?
I apologize if you mentioned already brother
All info is there. As for the tire, I bought it locally, but you can find it at Tire Rack (it was in stock last summer when I looked).
Sponsored