OP
OP
justa335i
Member
- First Name
- Alex
- Joined
- Sep 12, 2024
- Threads
- 3
- Messages
- 37
- Reaction score
- 57
- Location
- North Port, Florida
- Car(s)
- 2025 Acura Integra Type S, 2024 Acura Integra A-Spec, 2006 Mazda RX8 Shinka
- Thread starter
- #16
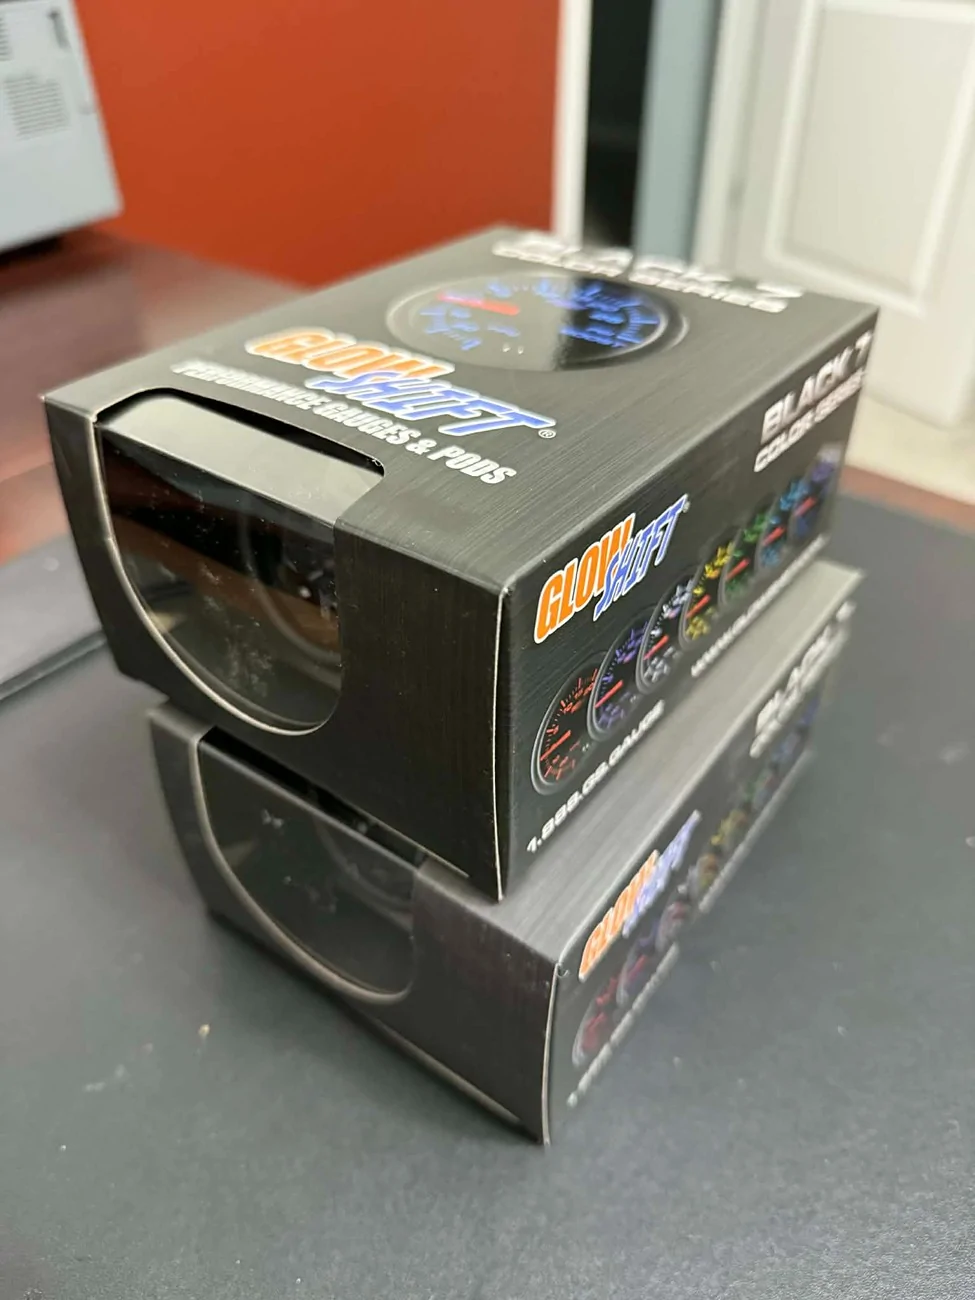
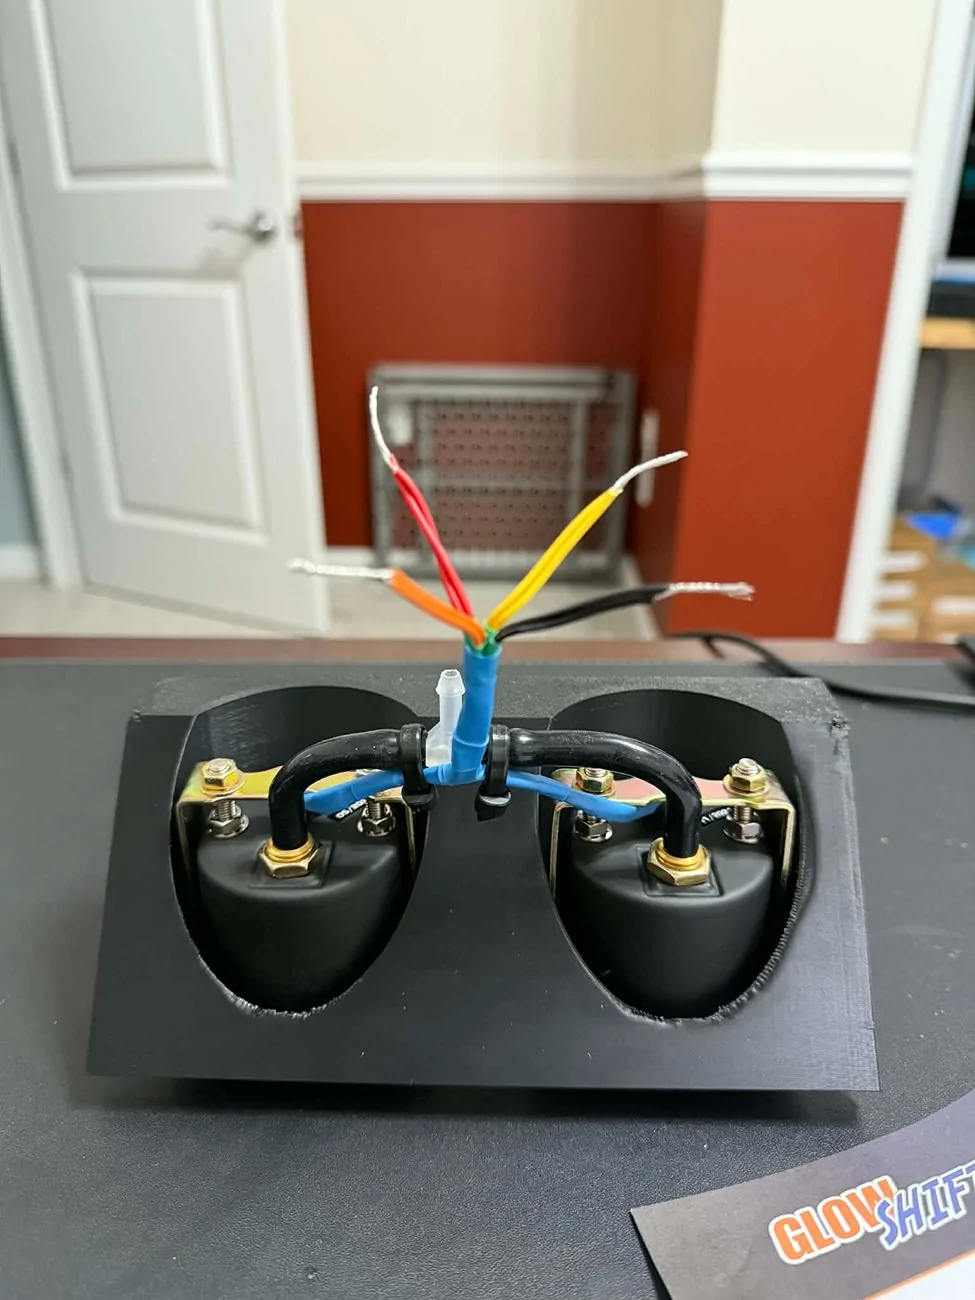
Remaining Slots Available (made to order):
5 - Black
5 - Blue
5 - Red
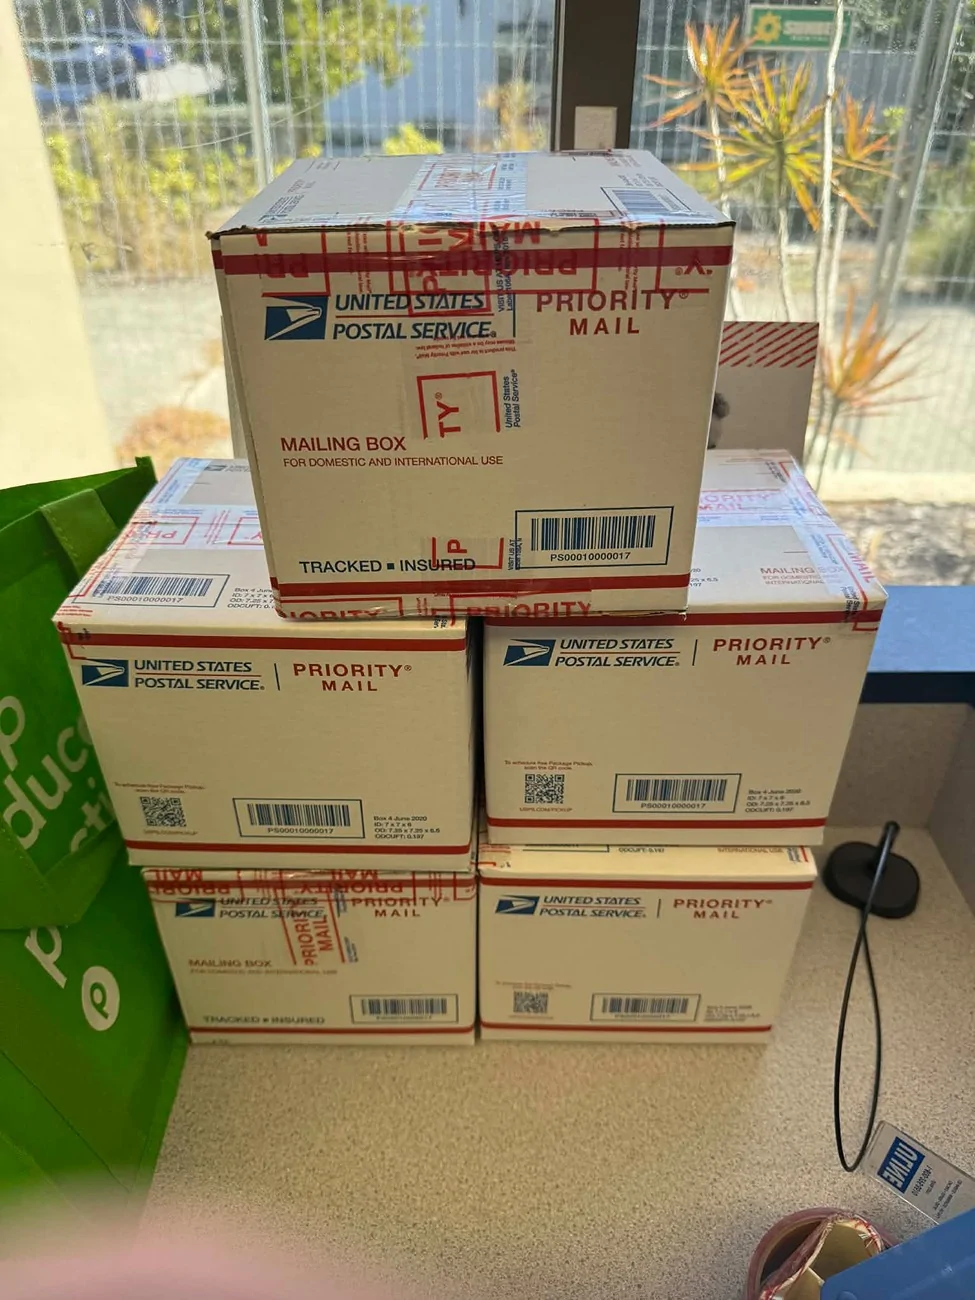
Also started production yesterday! Will start shipping orders this Friday!
I cant wait to see everyone's photos with them installed!

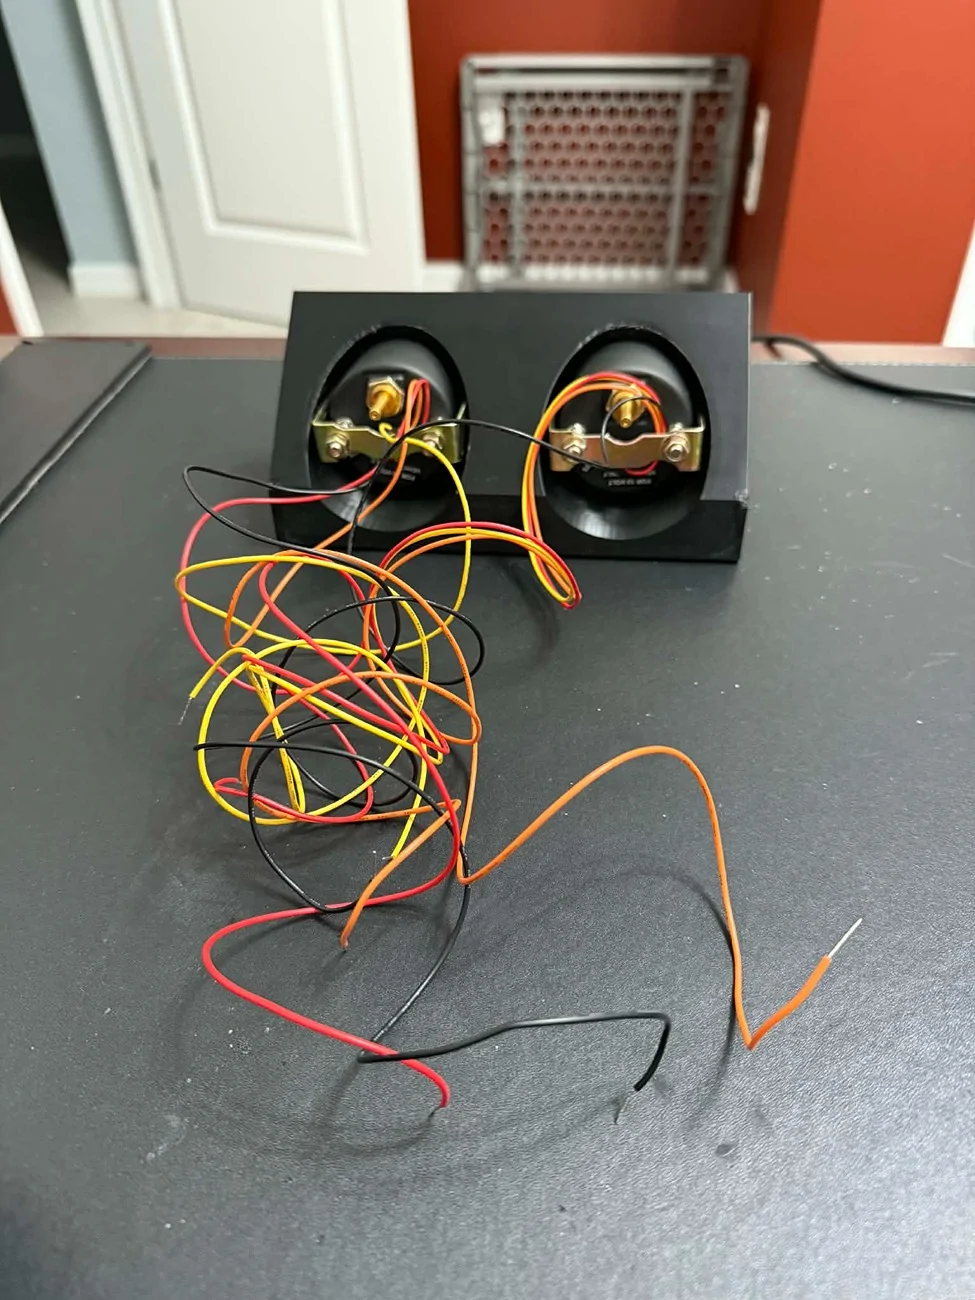
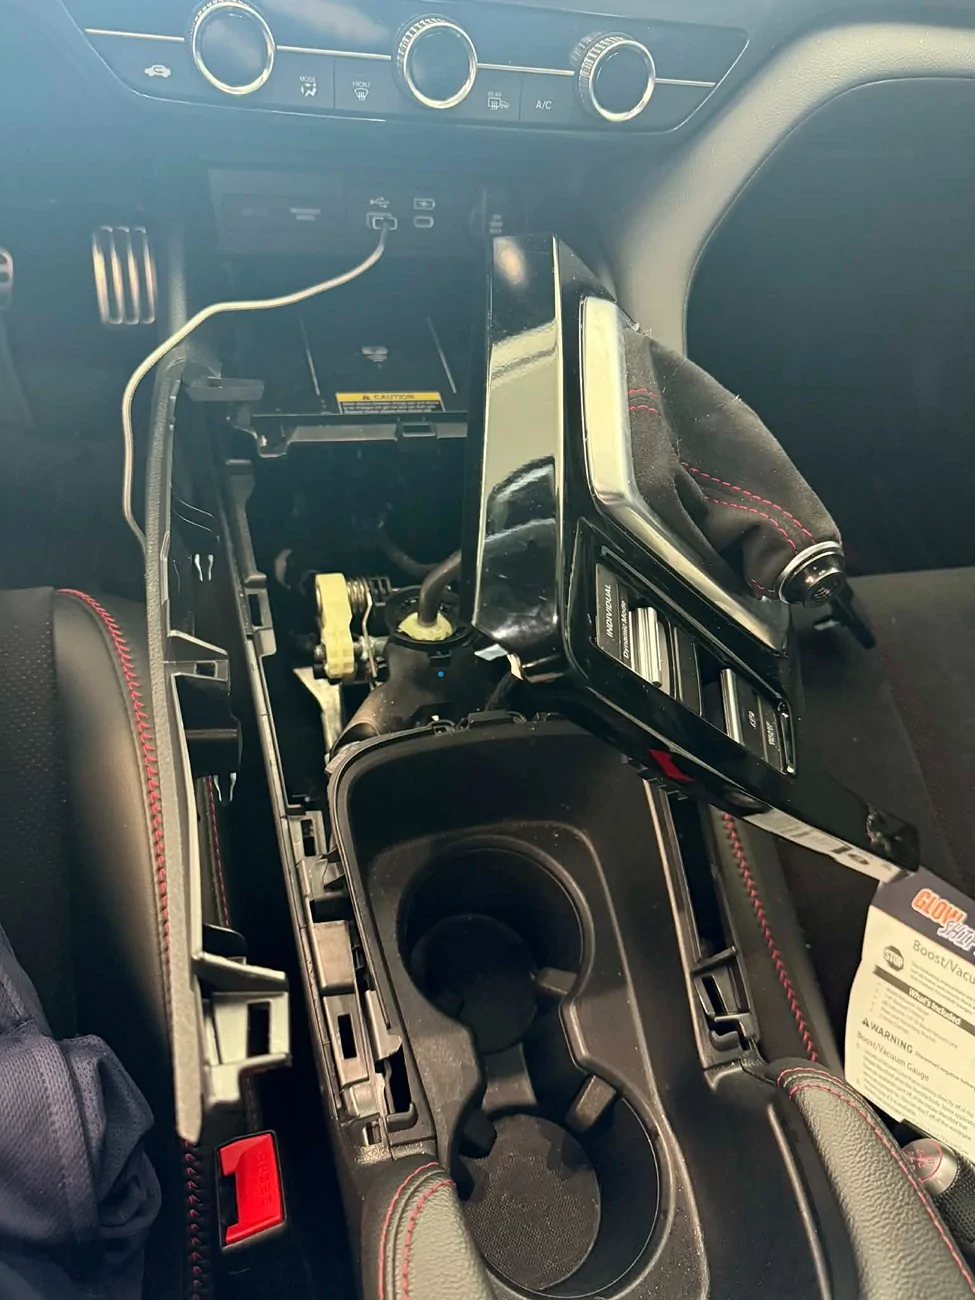
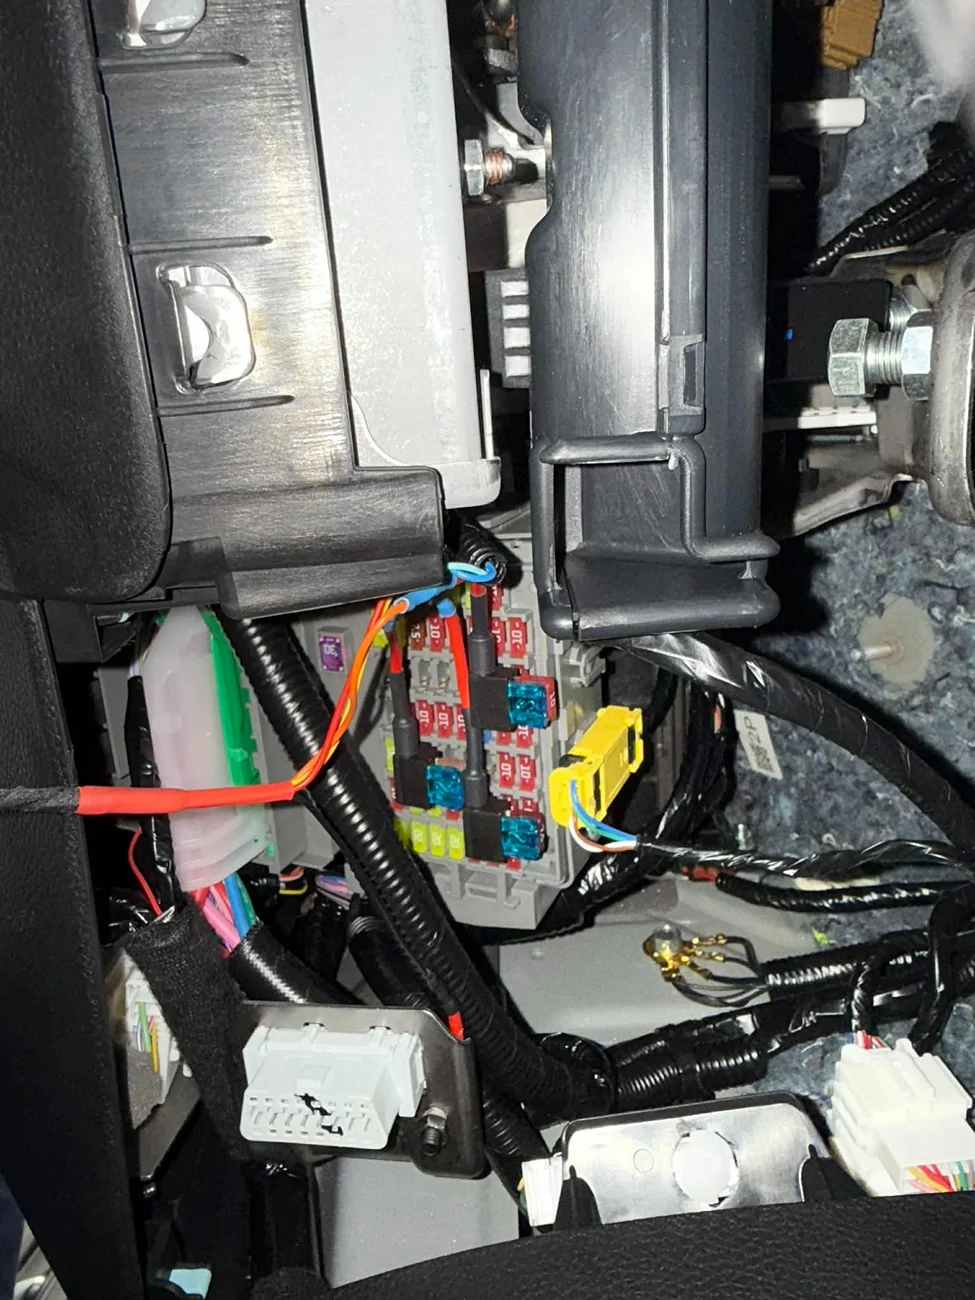
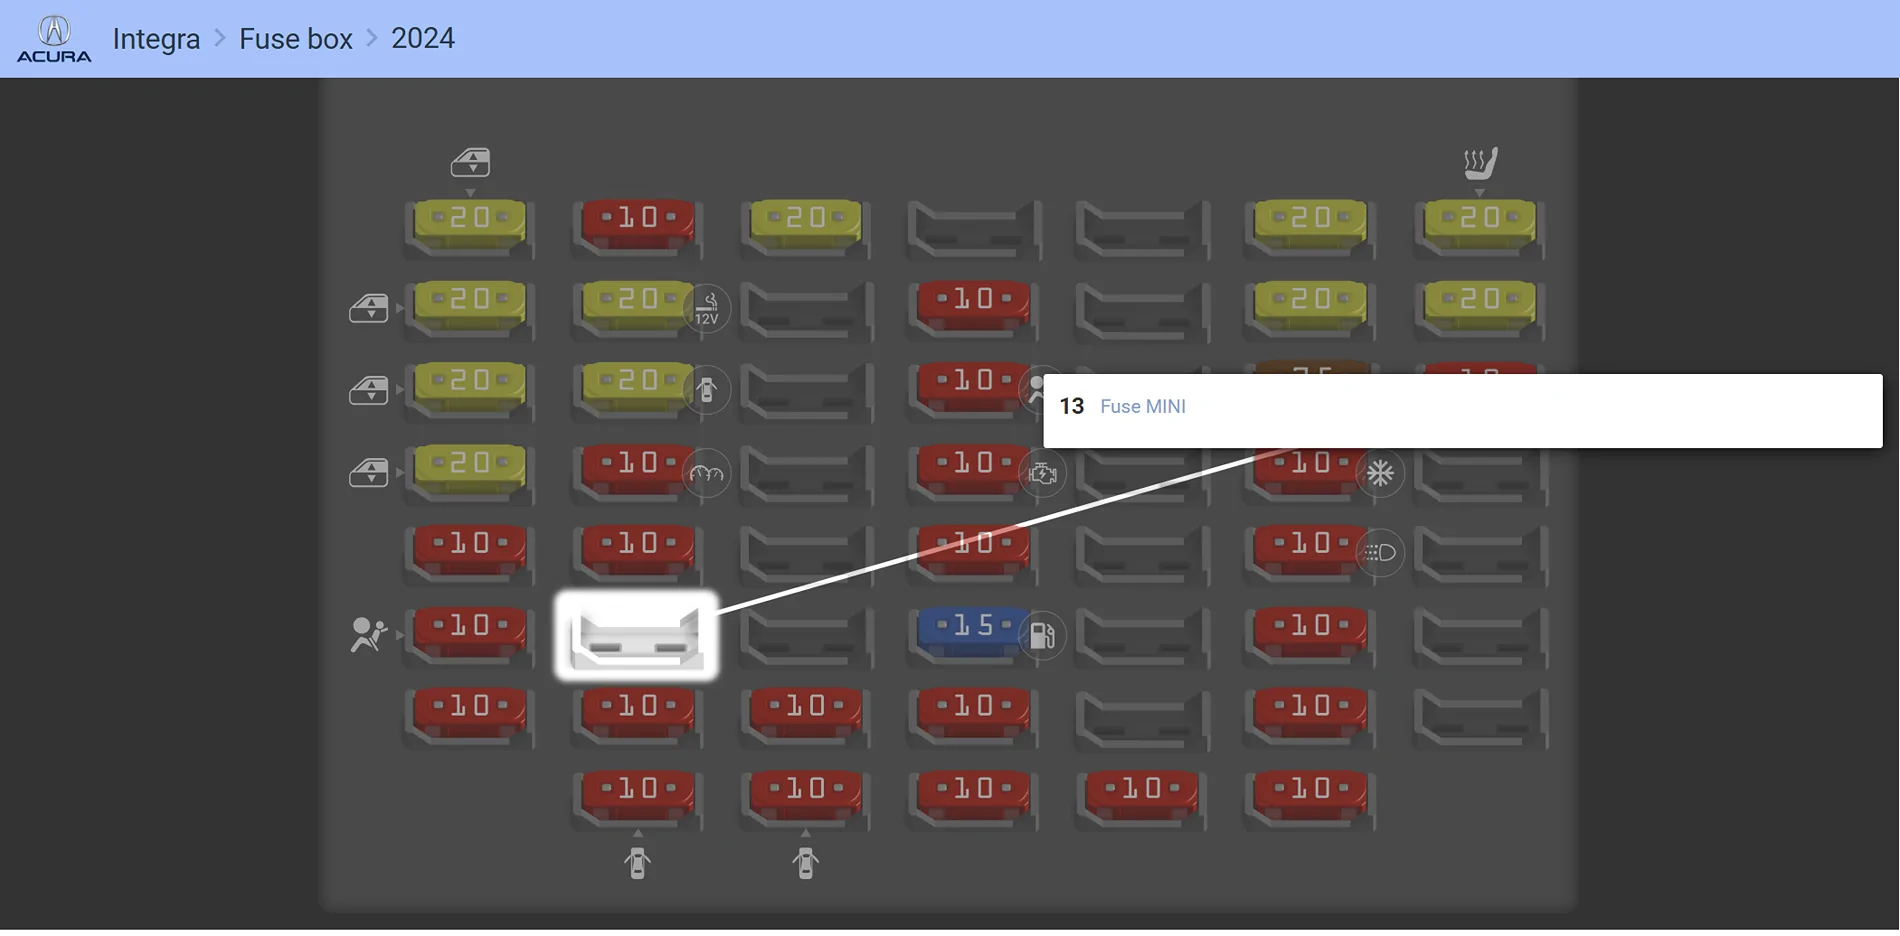
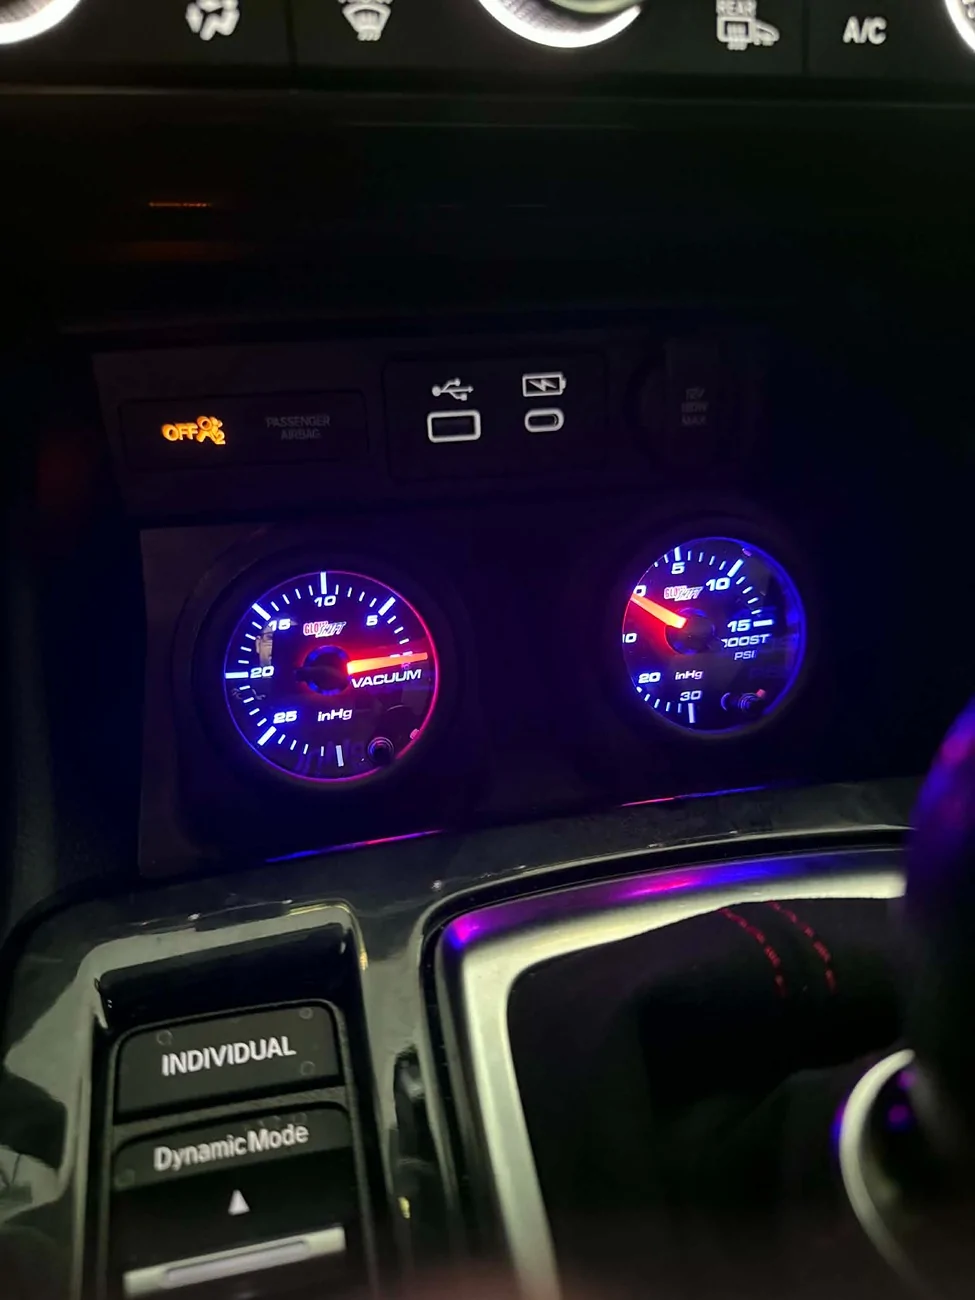
When my new gauges come in, ill post a video showing routing. Its 2 trim pieces removed (only 2 screws in total IIRC).
5 - Black
5 - Blue
5 - Red
Also started production yesterday! Will start shipping orders this Friday!
I cant wait to see everyone's photos with them installed!

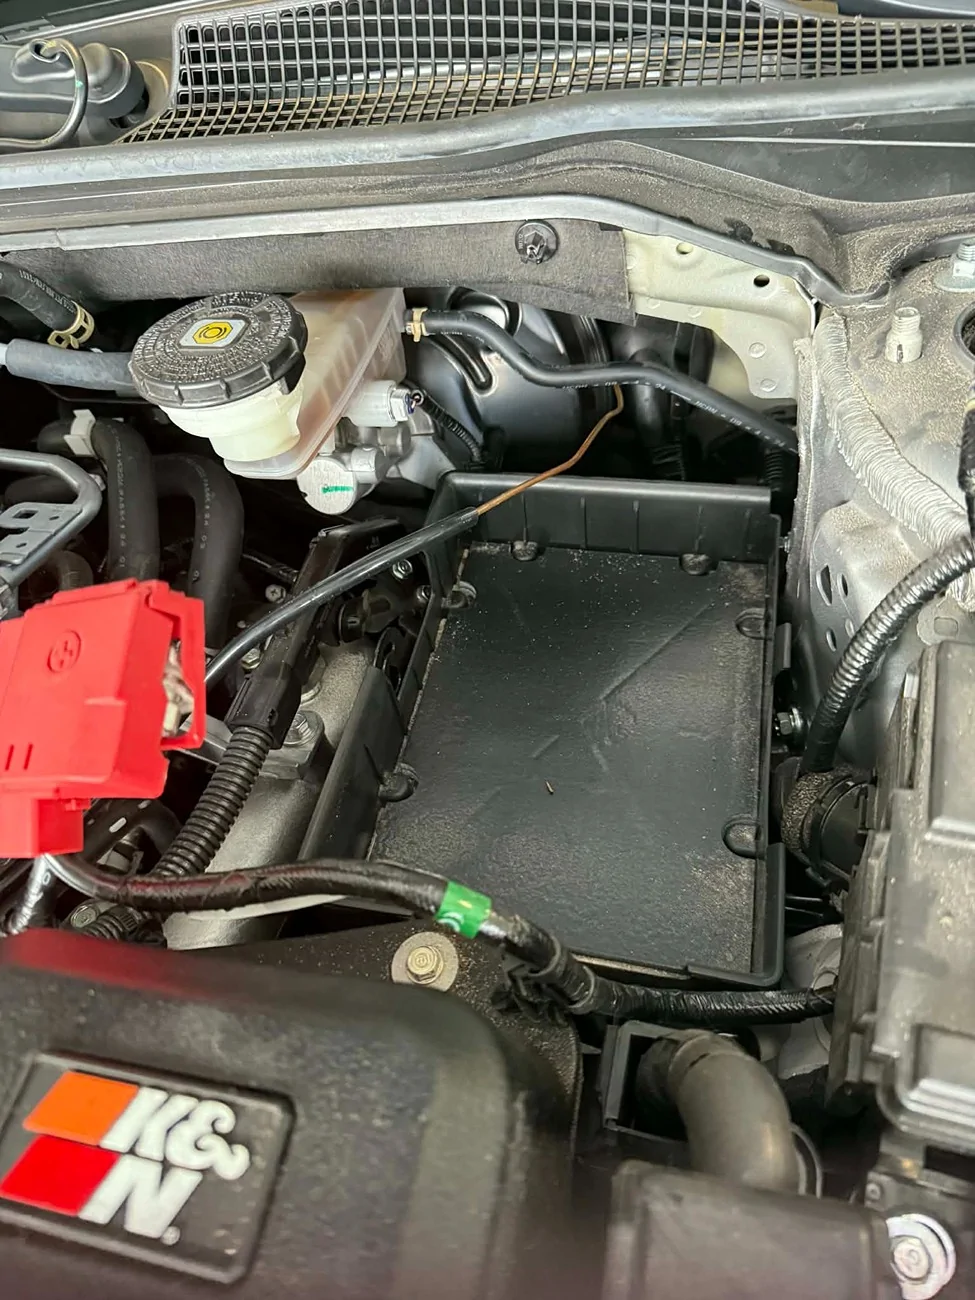
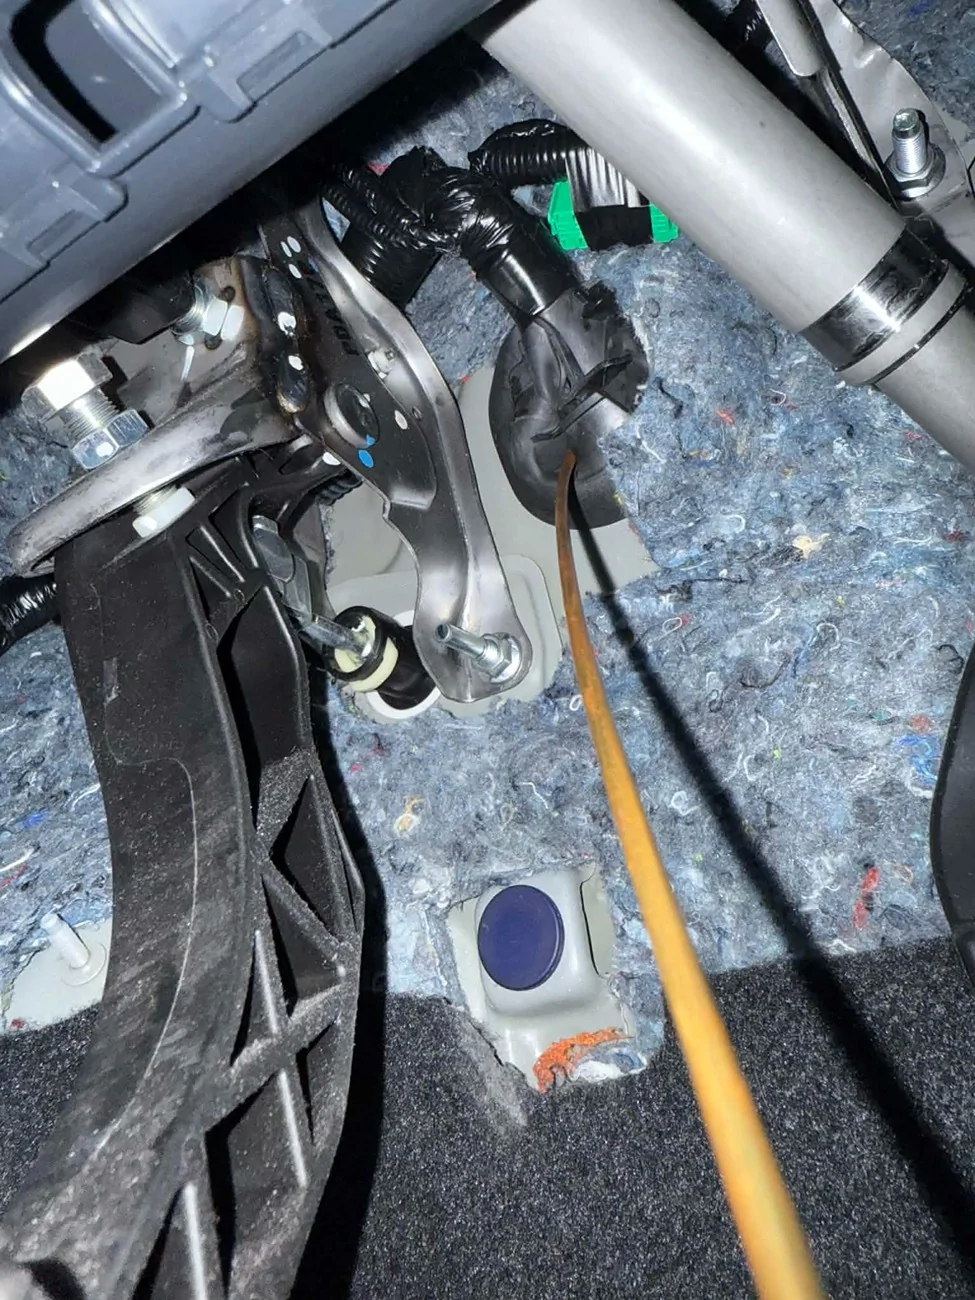
The wireless charger is still in underneath!another question, how did you do the wiring behind the gauge cluster? did you remove the wireless charger?
When my new gauges come in, ill post a video showing routing. Its 2 trim pieces removed (only 2 screws in total IIRC).
Sponsored